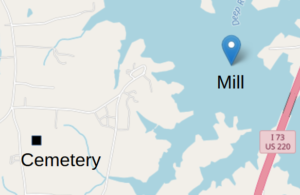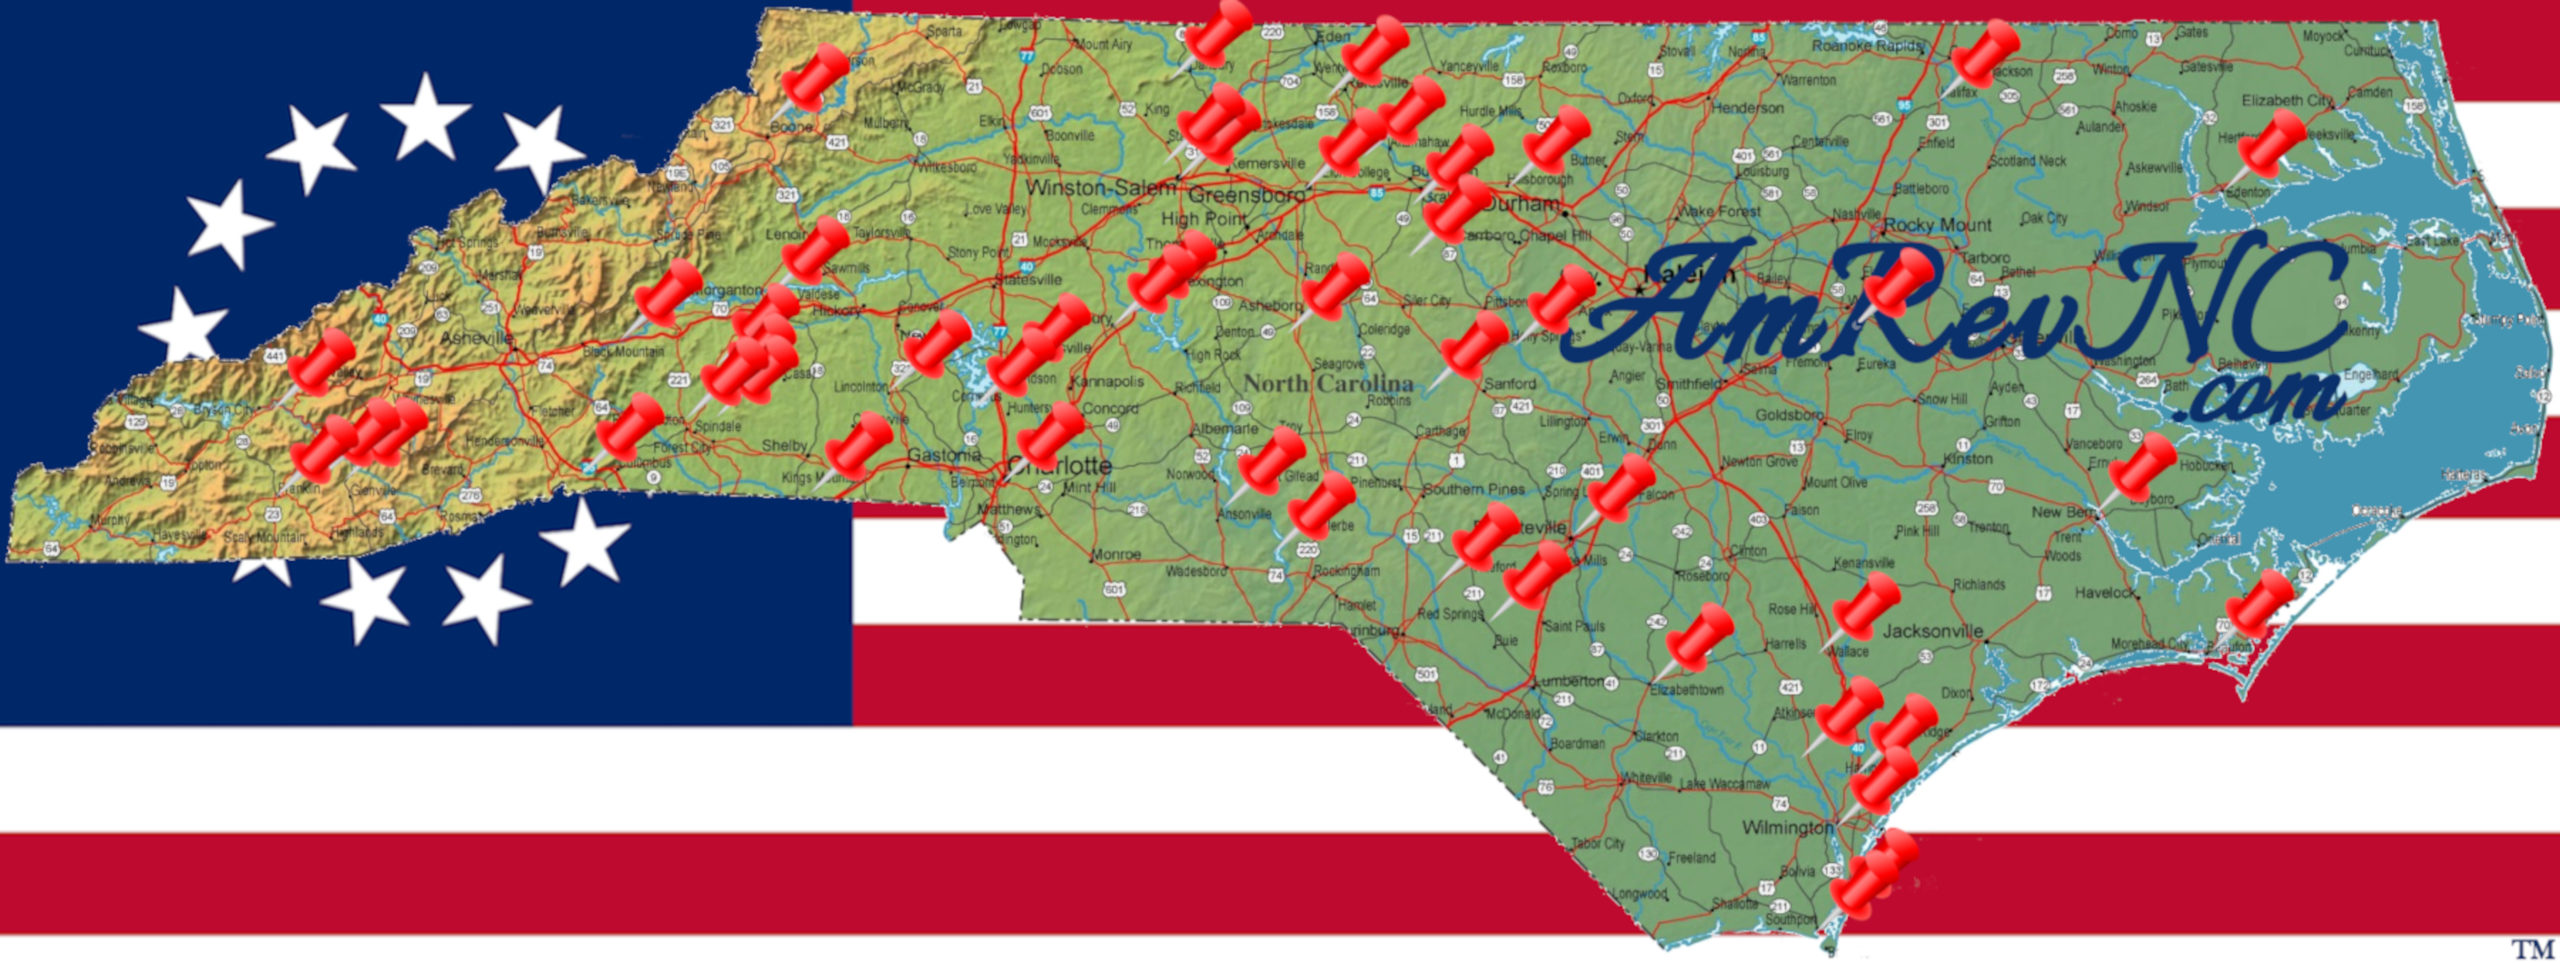
Location
Other maps: Bing, Google, MapQuest.
Coordinates: 35.6791, -79.6237.
Type: Sight
Tour: Tory War
County: Randolph
![]() Full
Full
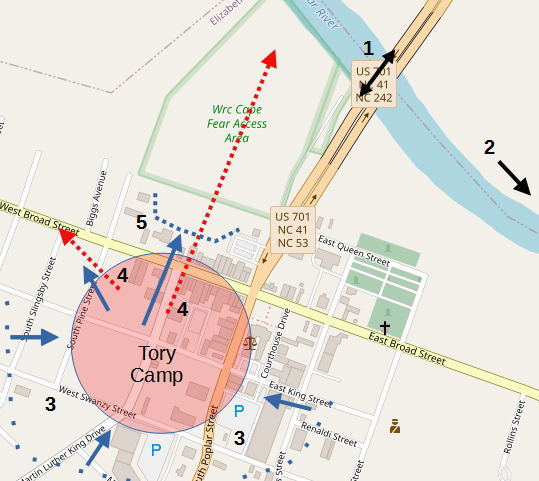
The coordinates mark a farm lane where you can park with permission of the owner. The entire area is private property, so please stay in your vehicle, and limit your visit to respect the privacy of the homeowners.
Context
 Harmon Cox’s grain mill south of modern Ramseur became a stopping point for soldiers on both sides of the American Revolution. It was a strategic location, being on the Hillsborough-Camden, S.C., wagon road near where that intersected the Salisbury-Cross Creek (Fayetteville) road and a ford over the Deep River.[1]
Situations
- In July of 1780, Maj. Gen. Baron de Kalb was moving with Maryland and Virginia regulars to relieve Continental forces besieged in Charleston when he learned the city had surrendered on May 12.
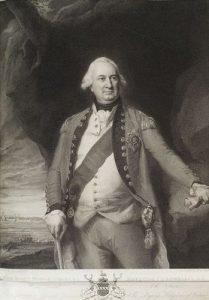
- With the advance of the British army into North Carolina under Lt. Gen. Lord Charles Cornwallis at the end of January 1781, pro-British partisans were emboldened to take action against their Patriot neighbors.
Dates
July 1780–December 1781.
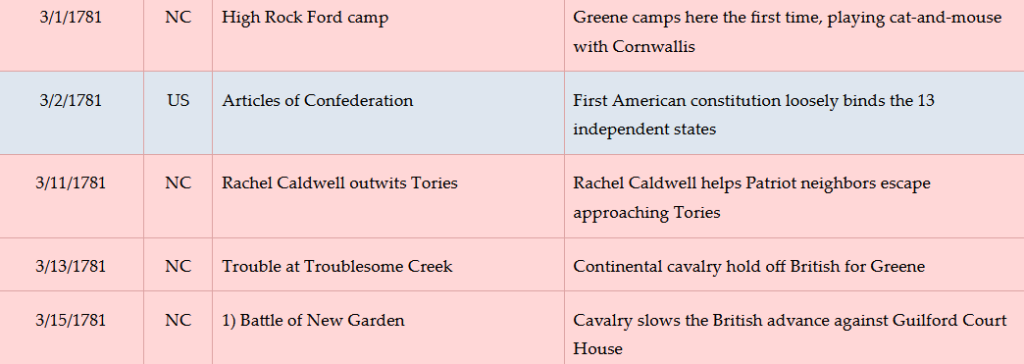
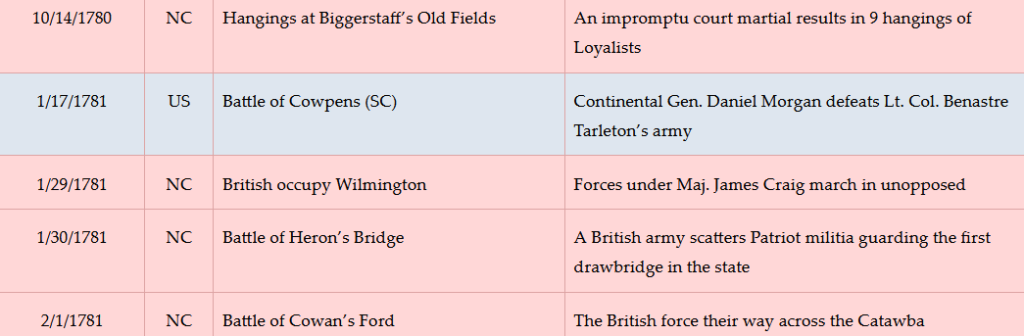
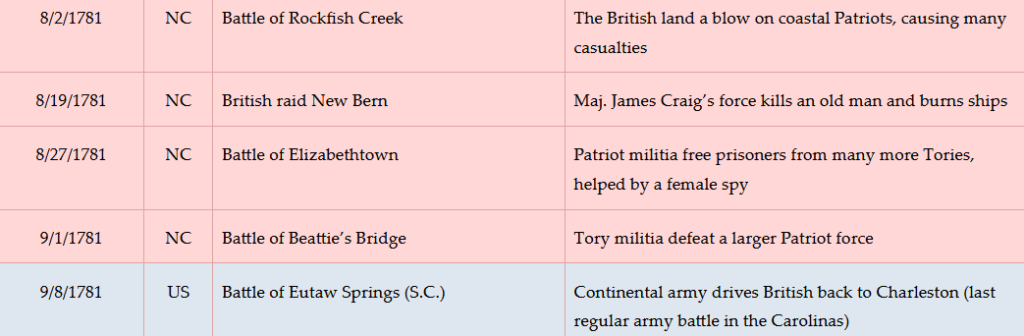
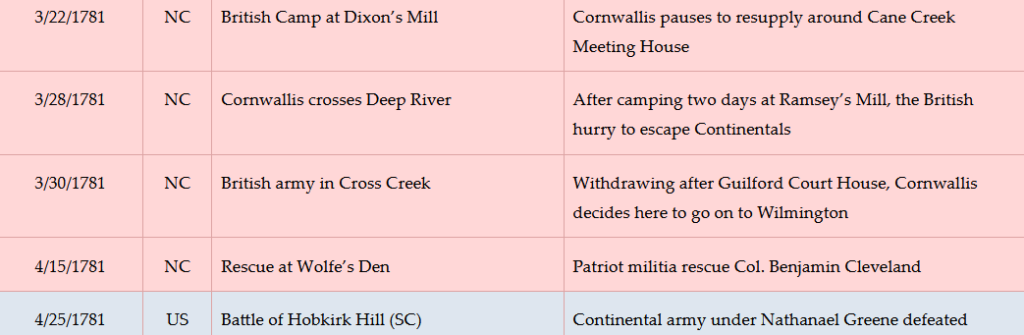
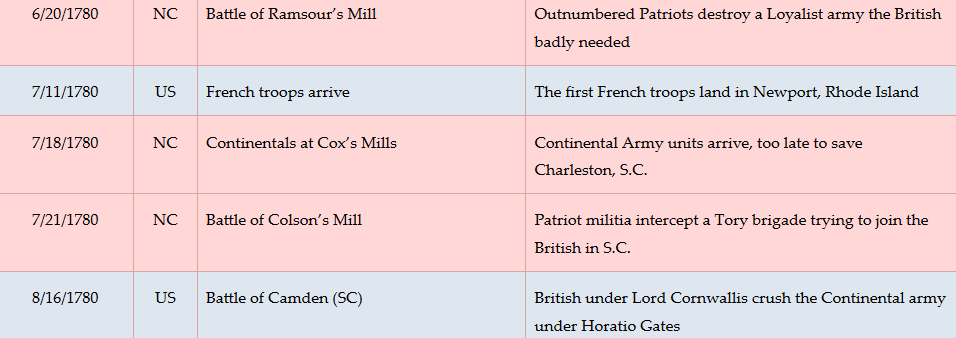
Timeline

Imagine the Scene
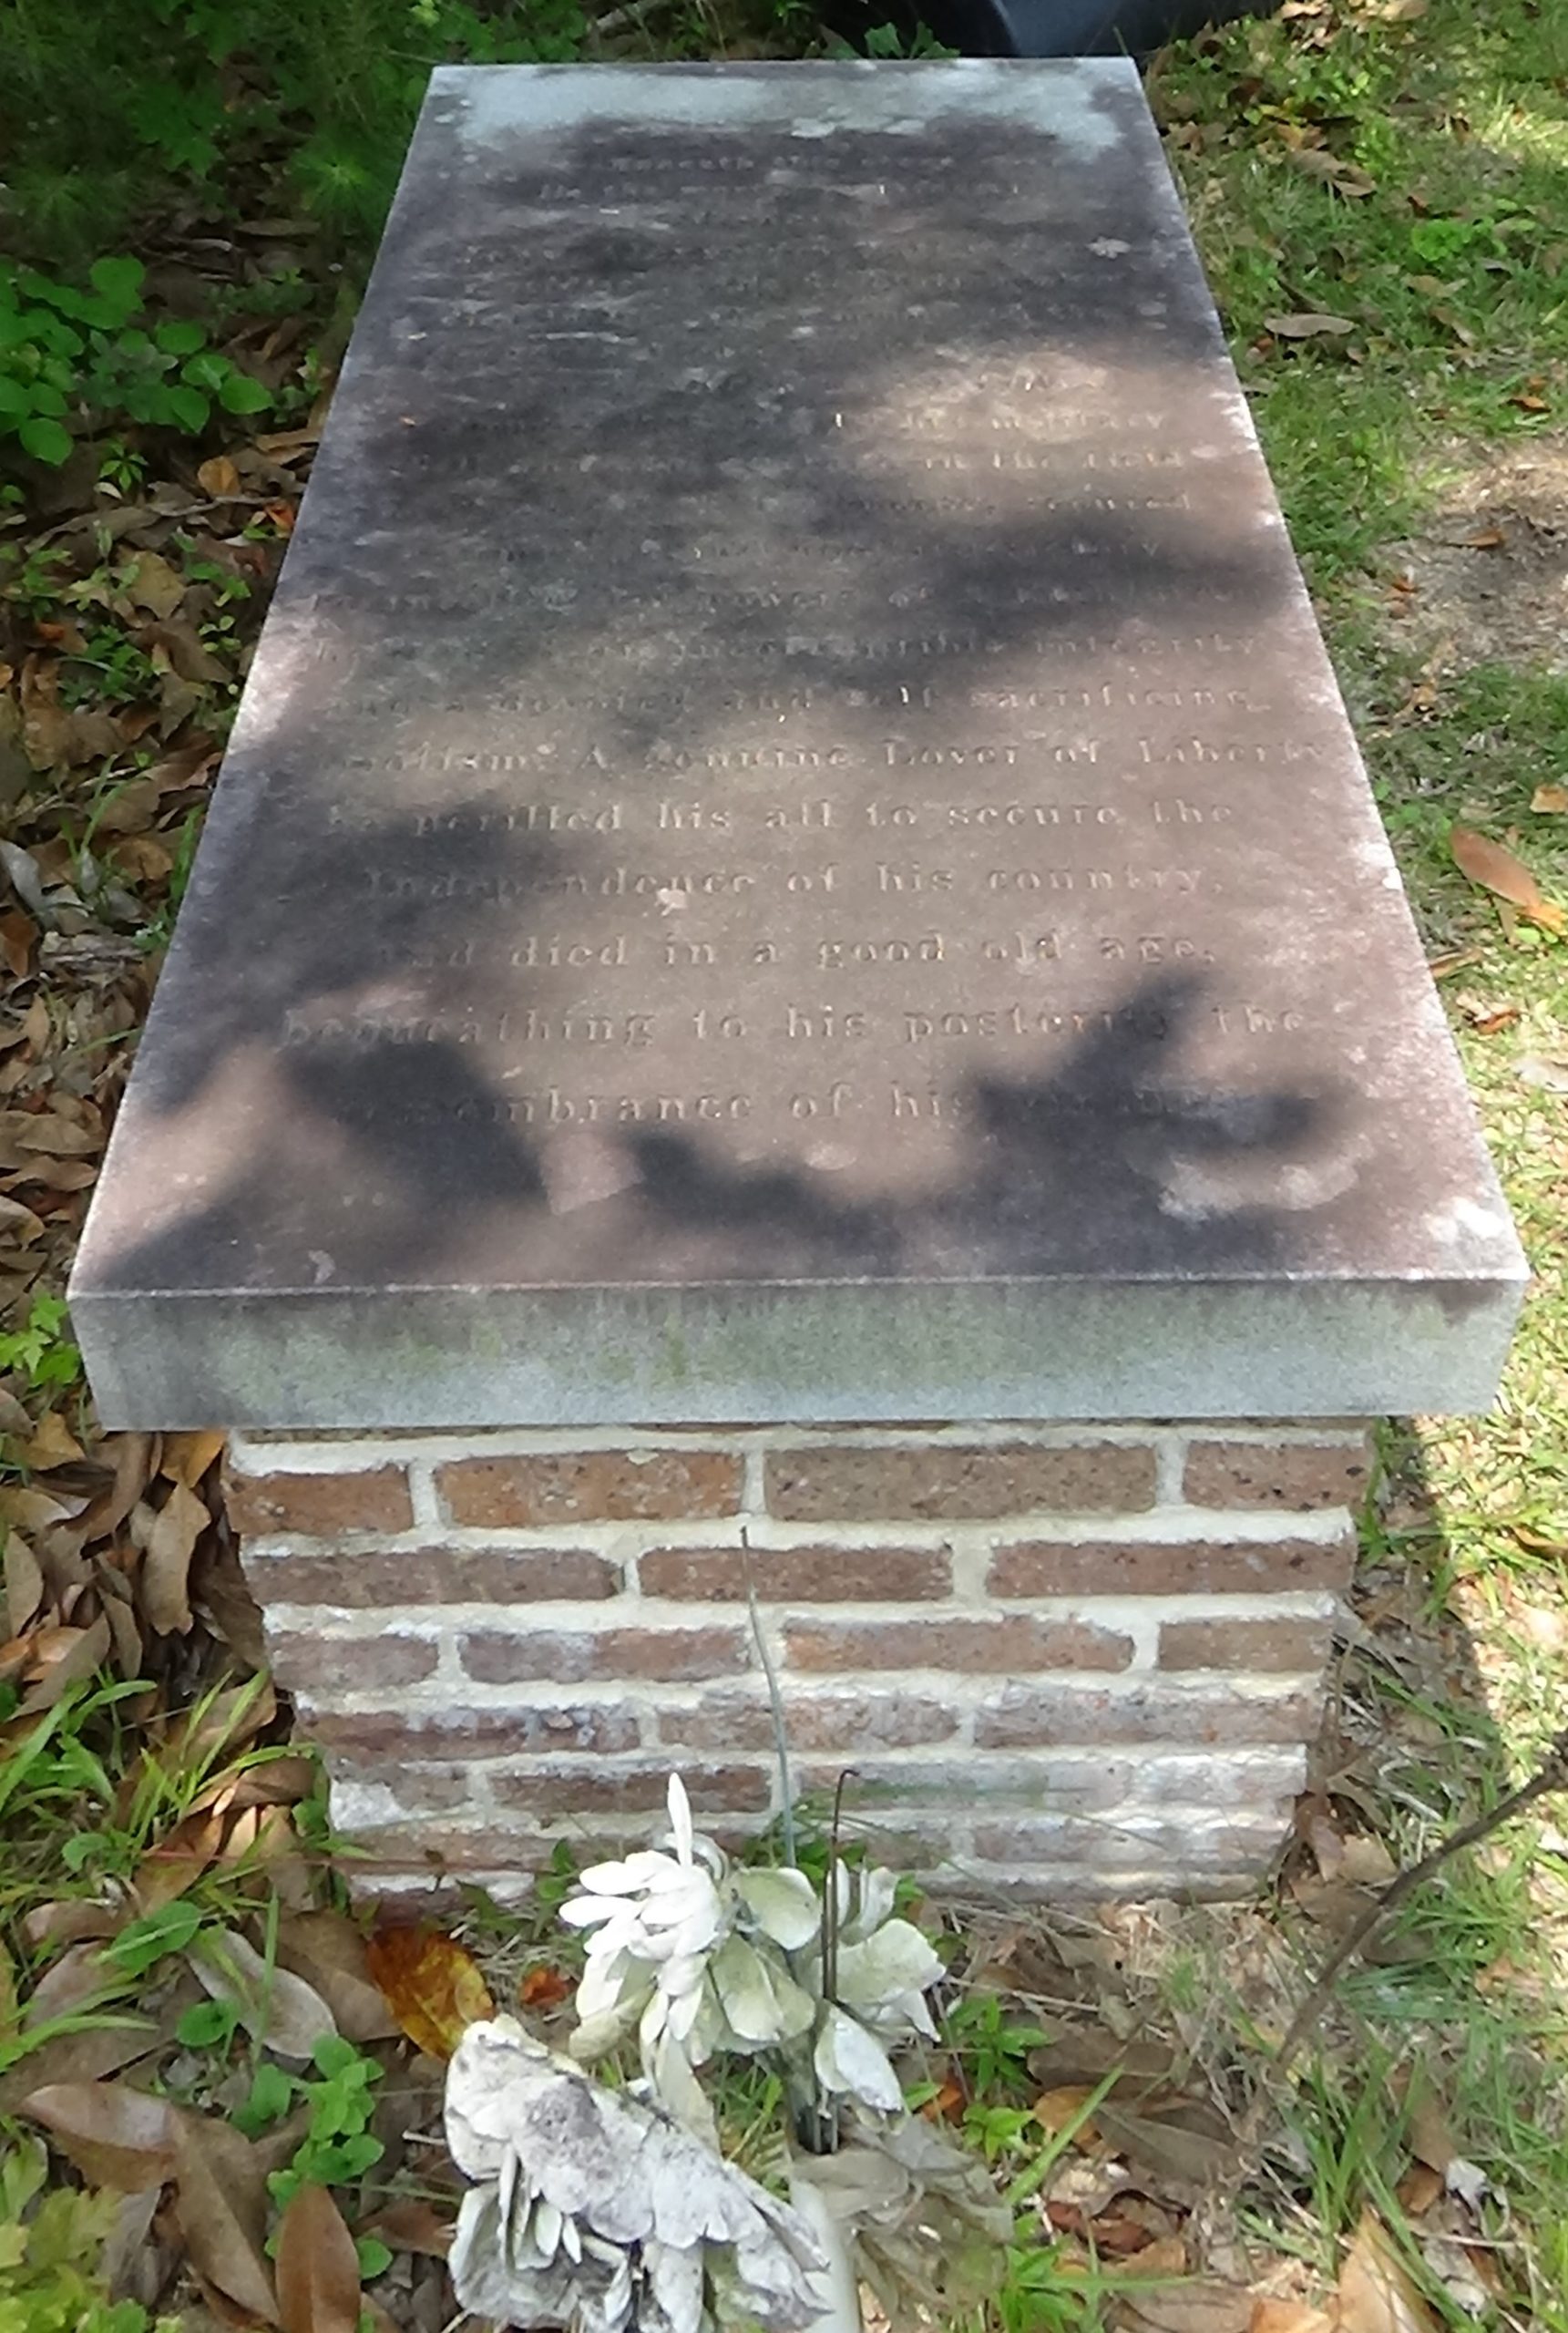
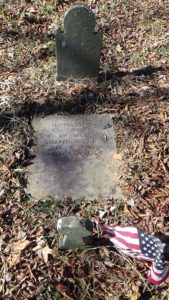
Harmon Cox
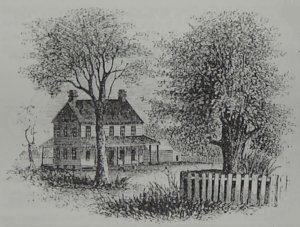
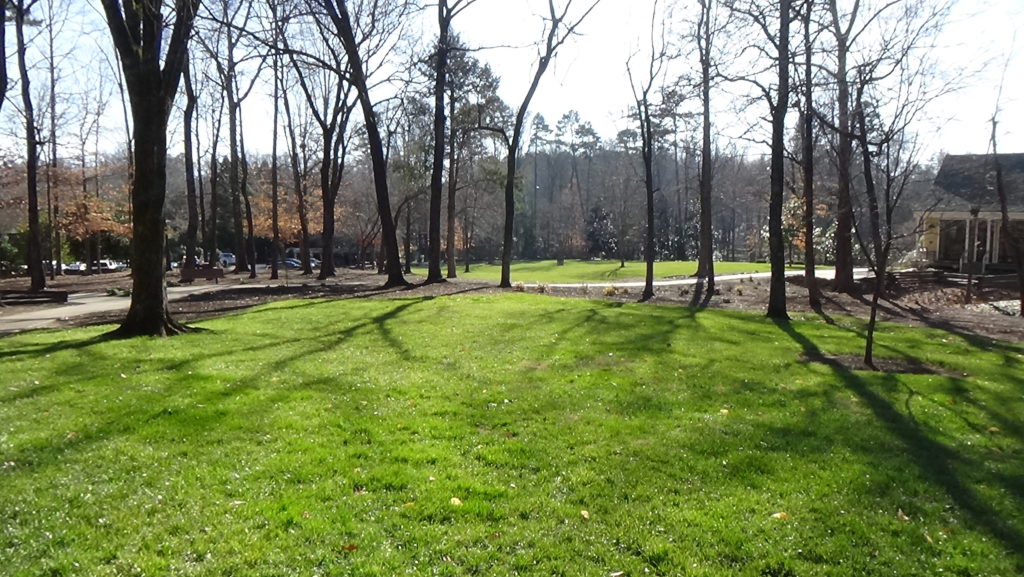
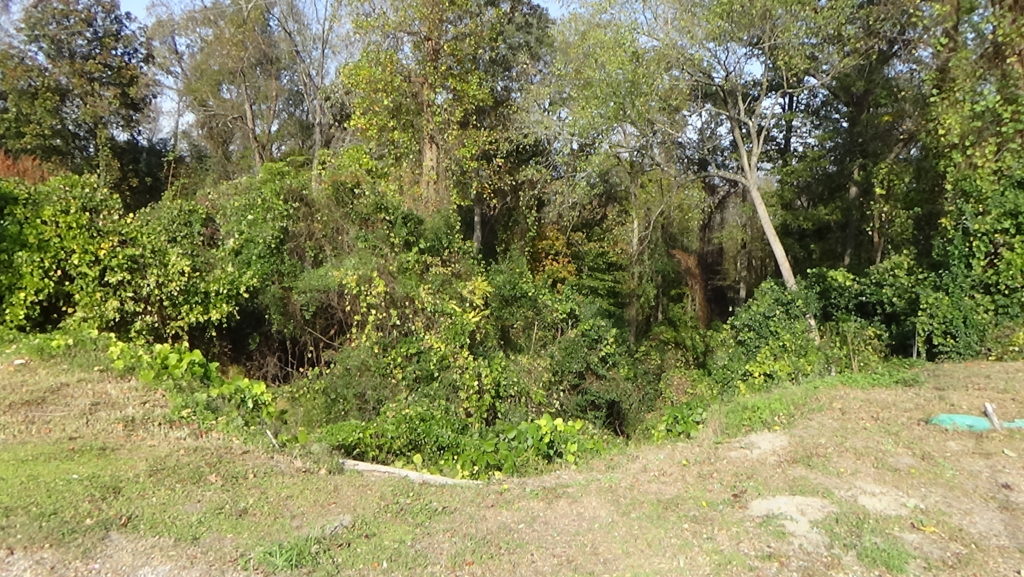
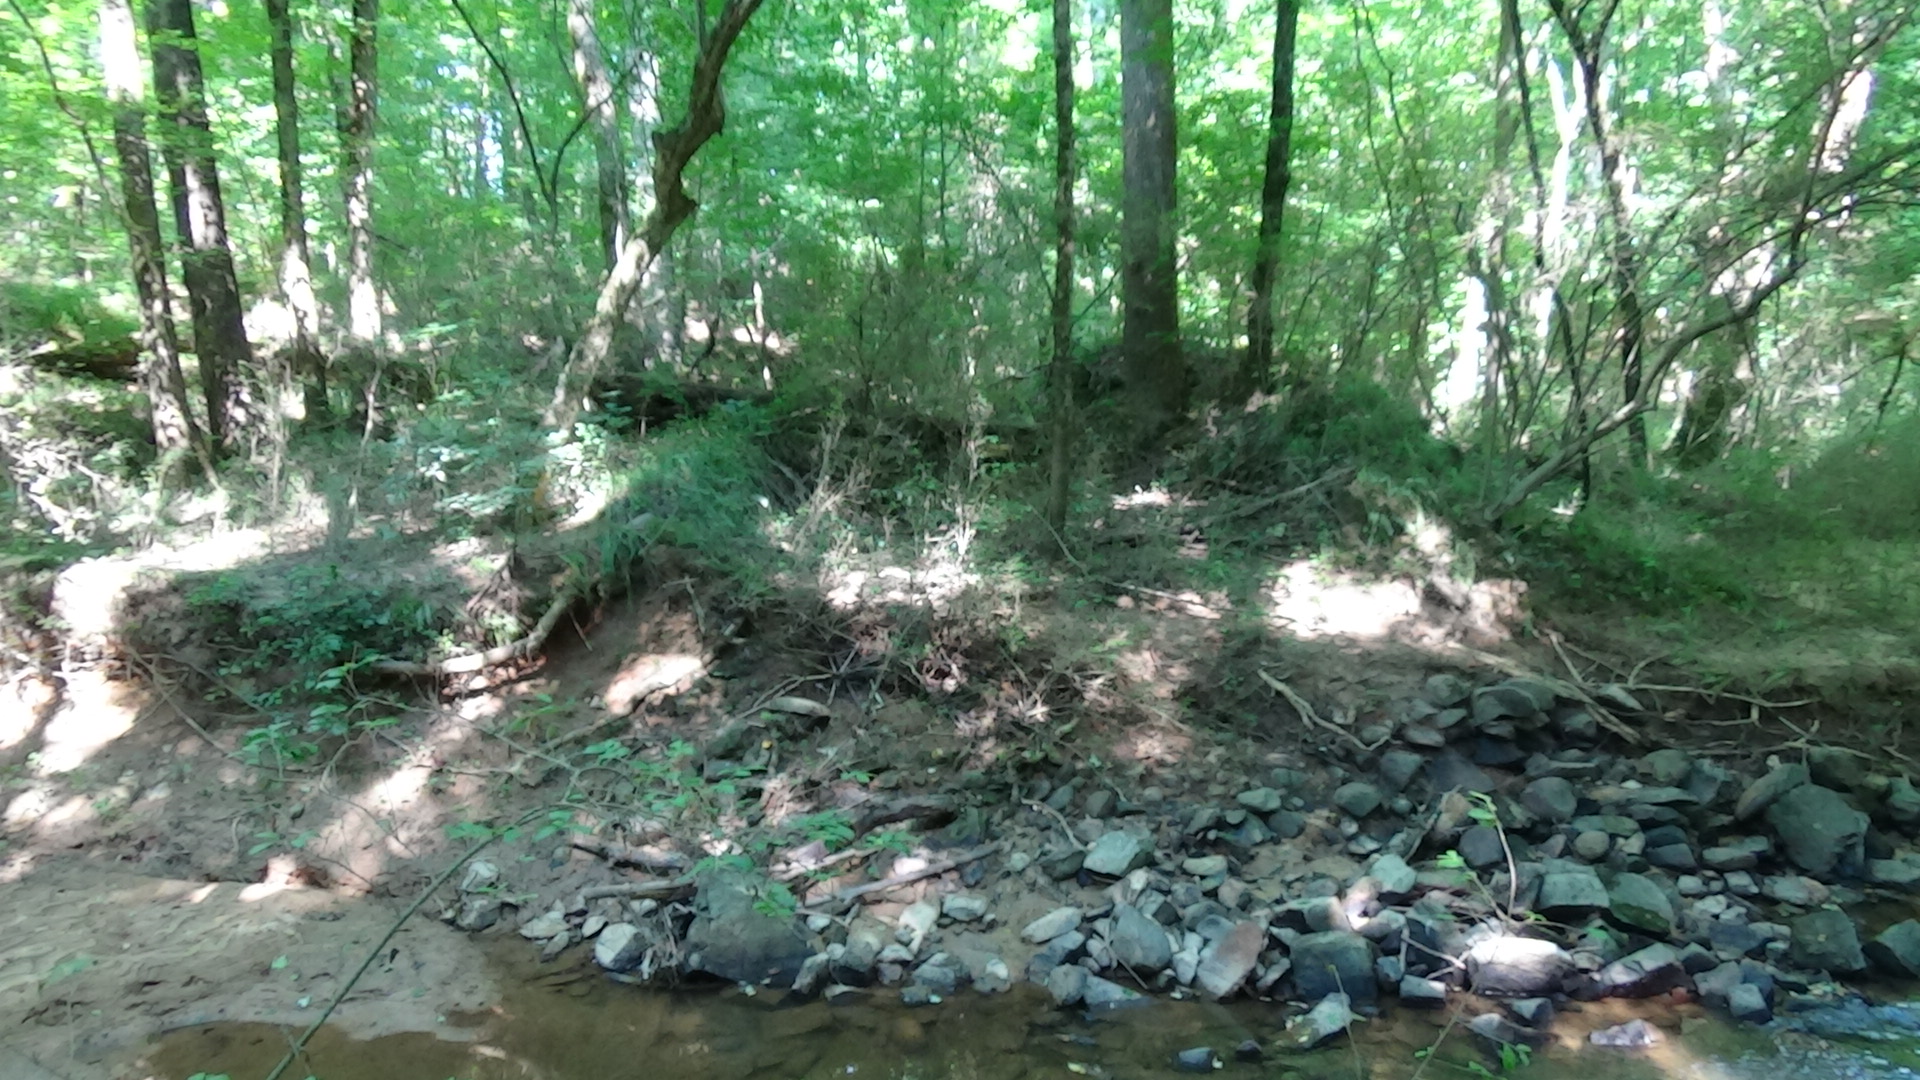
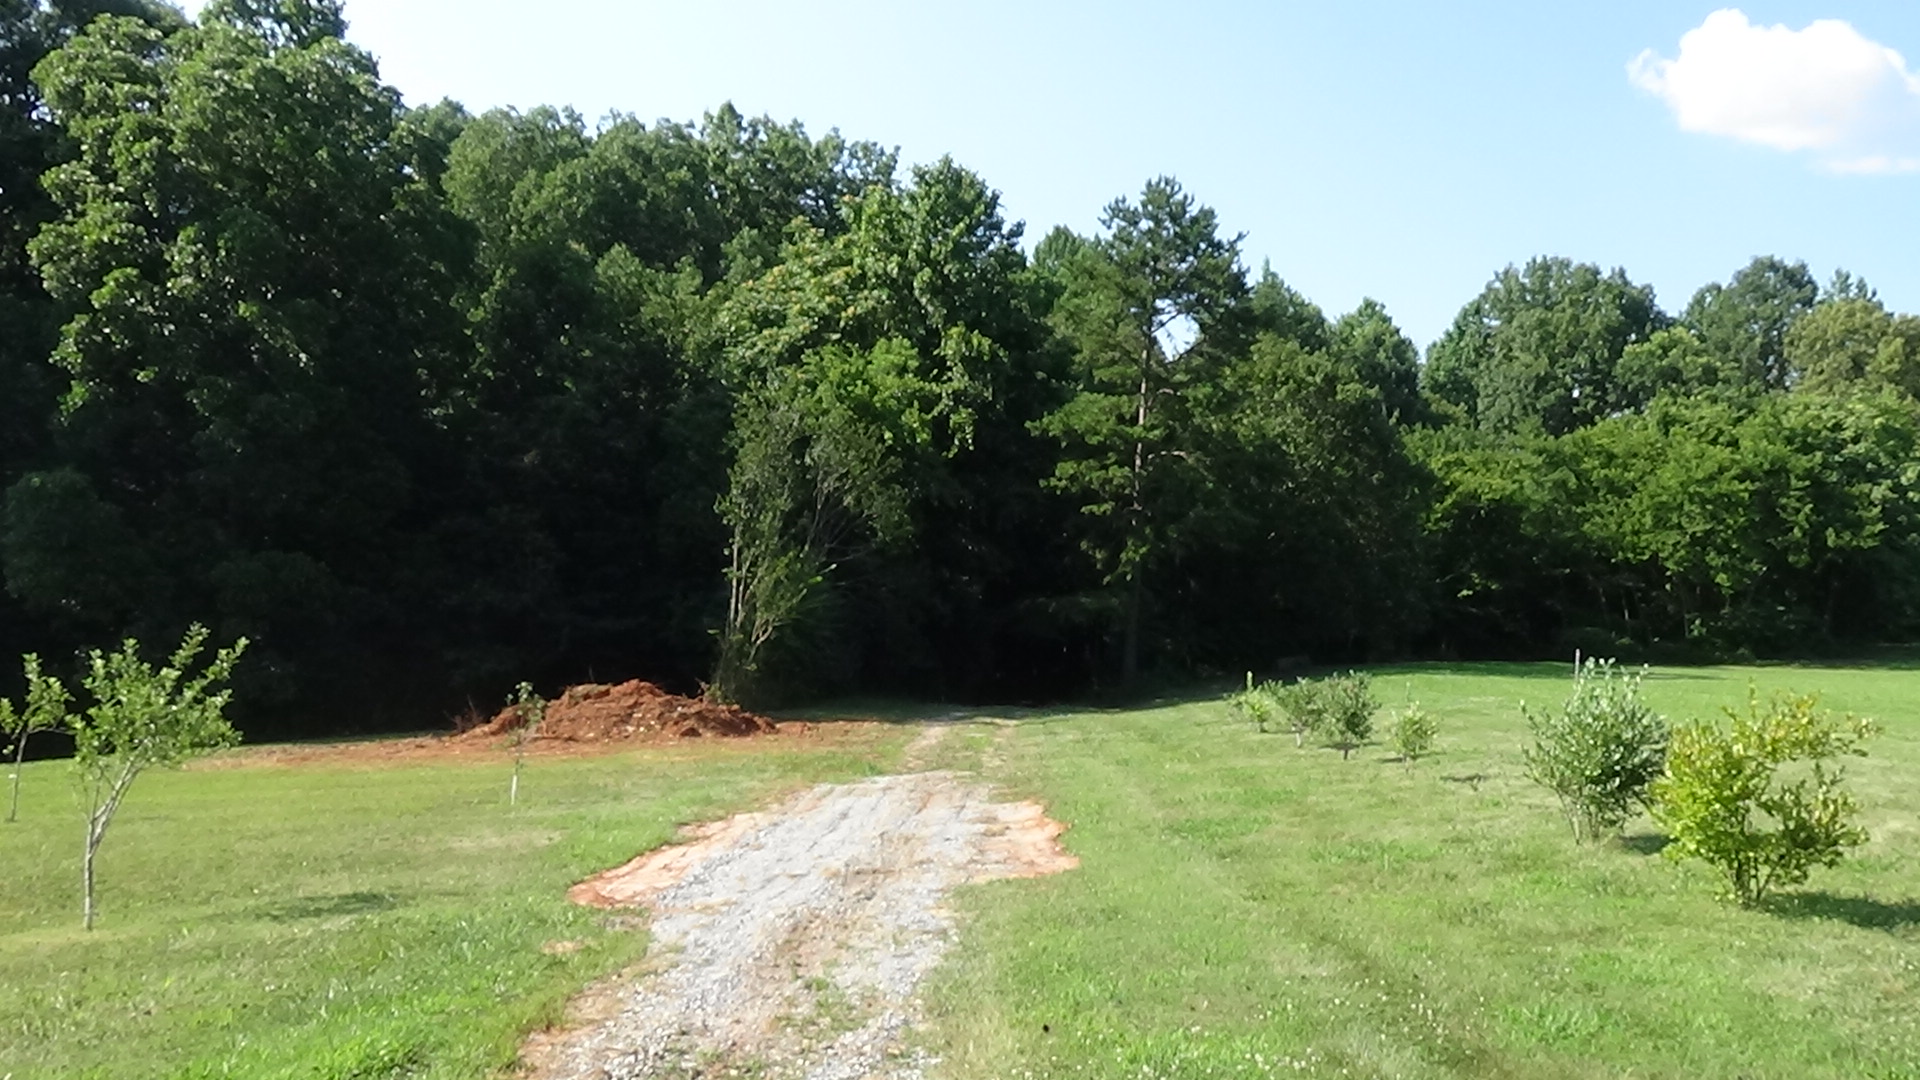
Harmon Cox’s Mill was built around 1770 on Millstone Creek, at the bottom of the slope to the right, between the modern road and the river. His brothers William and Thomas had mills on the other side of the river. Harmon and his brothers were Regulators, a group formed in the late 1760s to oppose what it saw as unfair taxation and corrupt practices by the colonial government. Harmon was the brother-in-law of Herman Husband, a famous supporter of the group. Regulators met briefly at the mill on Monday, May 30, 1768, but for unknown reasons moved to Thomas’s, where they issued another of their series of petitions to the governor.[i]
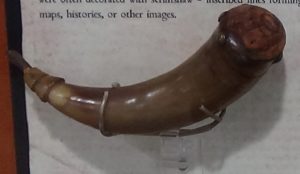
Cox joined them in 1771 to confront the royal governor near Burlington, expecting a negotiation. A Quaker, he probably did not fight at the ensuing Battle of Alamance that ended the War of Regulation, but his powder horn is on display at the battlefield Visitor Center! A letter from the time suggests his son may have fought and been captured, and then released on condition of Harmon turning himself in.[ii] Meanwhile, the governor sent wagons here to confiscate grain for the army.
Cox was among those tried in Hillsborough. Convicted and scheduled to be hung, instead he was spared—at the hanging site—and eventually pardoned in exchange for pledging allegiance to the king. Perhaps this pushed him back to his Quaker roots, as there is no record of him being active in the Revolution. But that oath could be why this became a center of a Loyalist force later in the war.
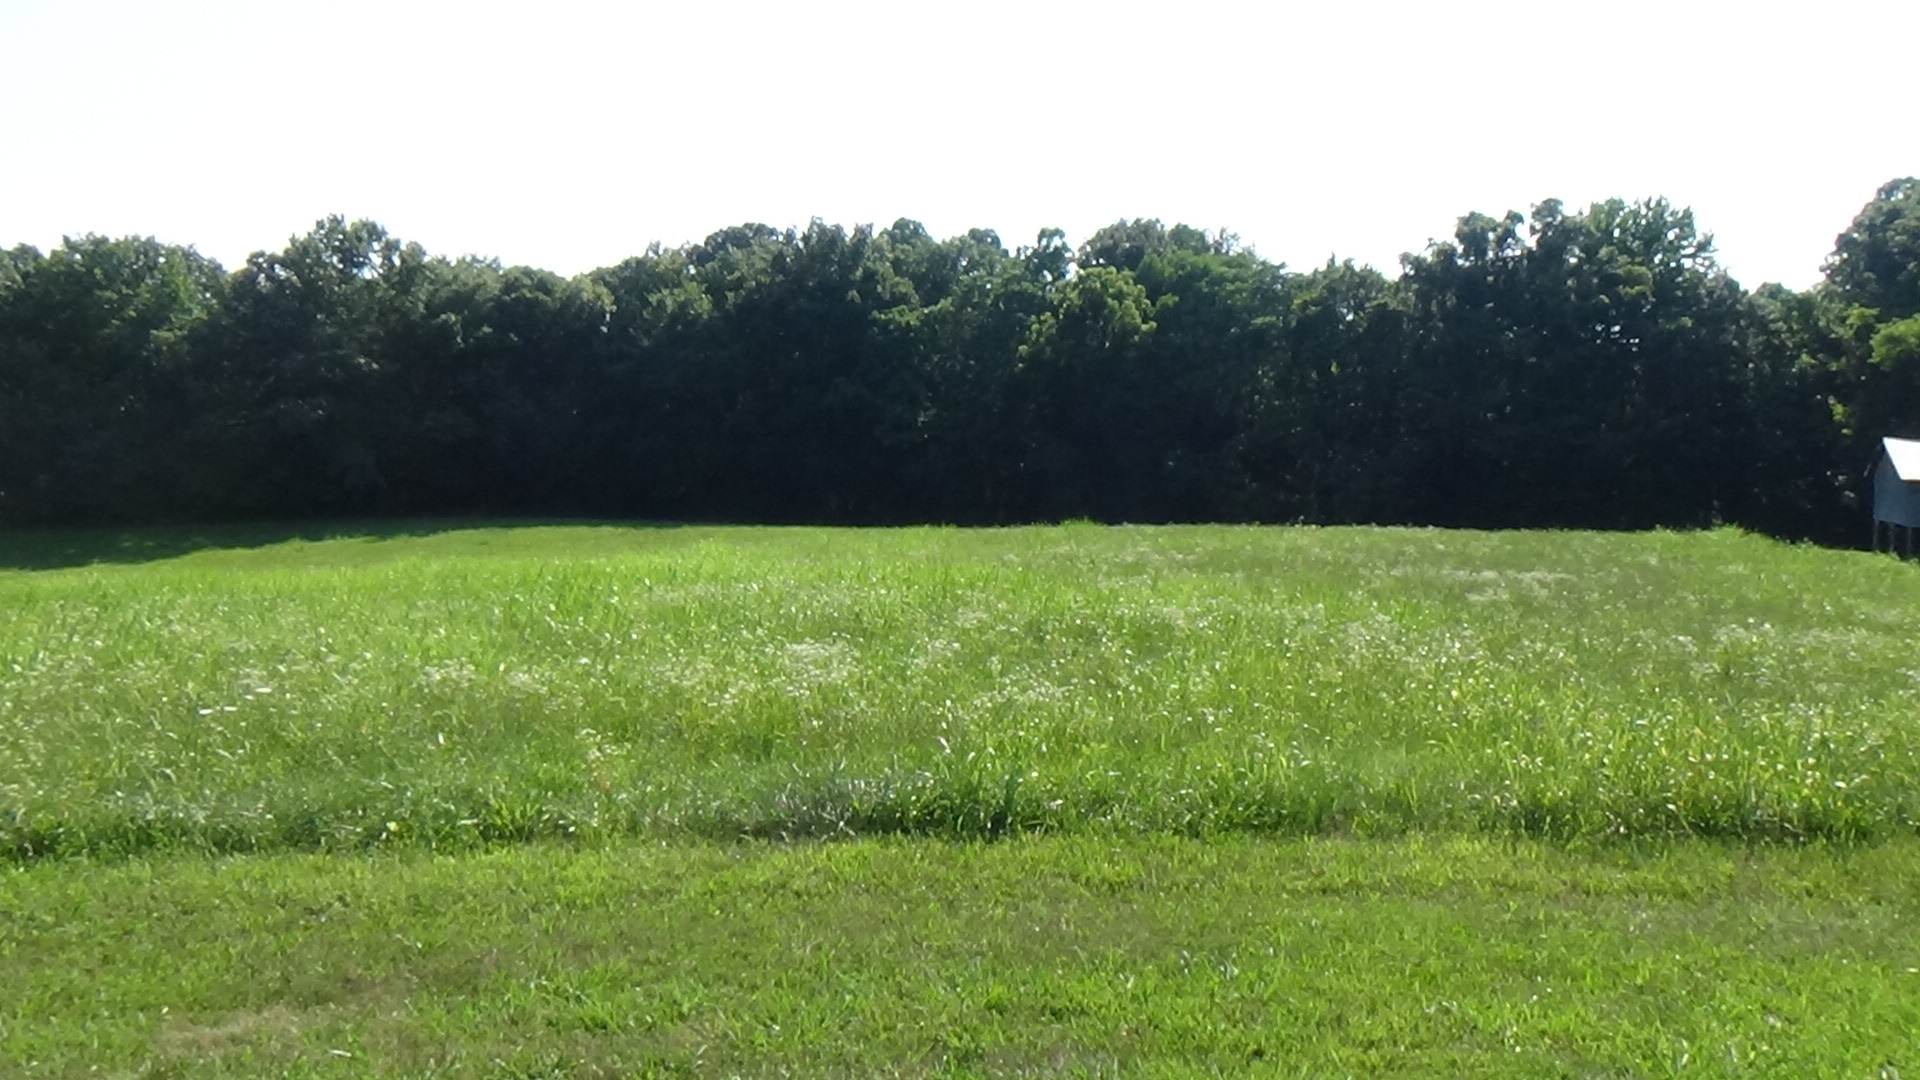
The Continental Campsite
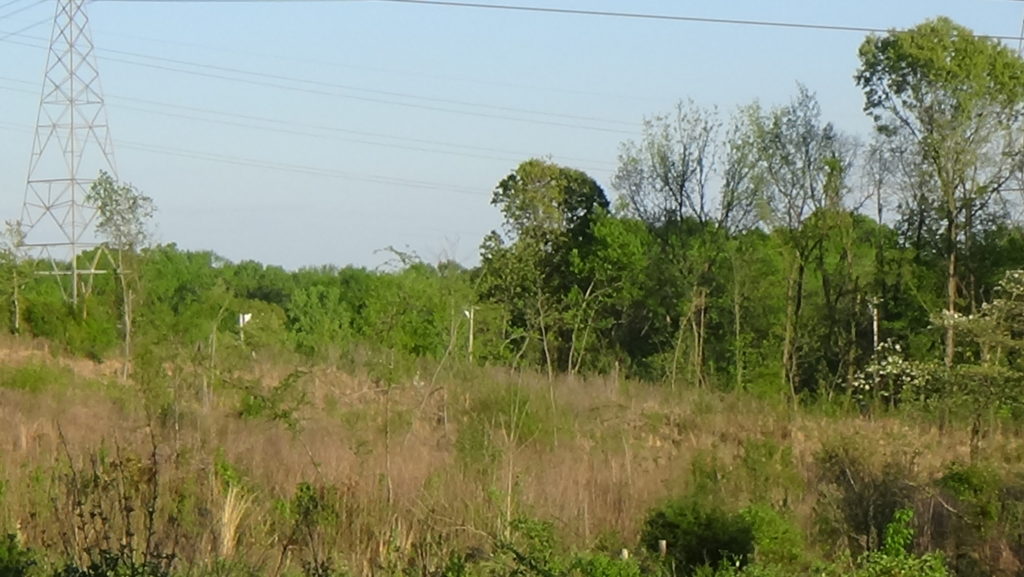
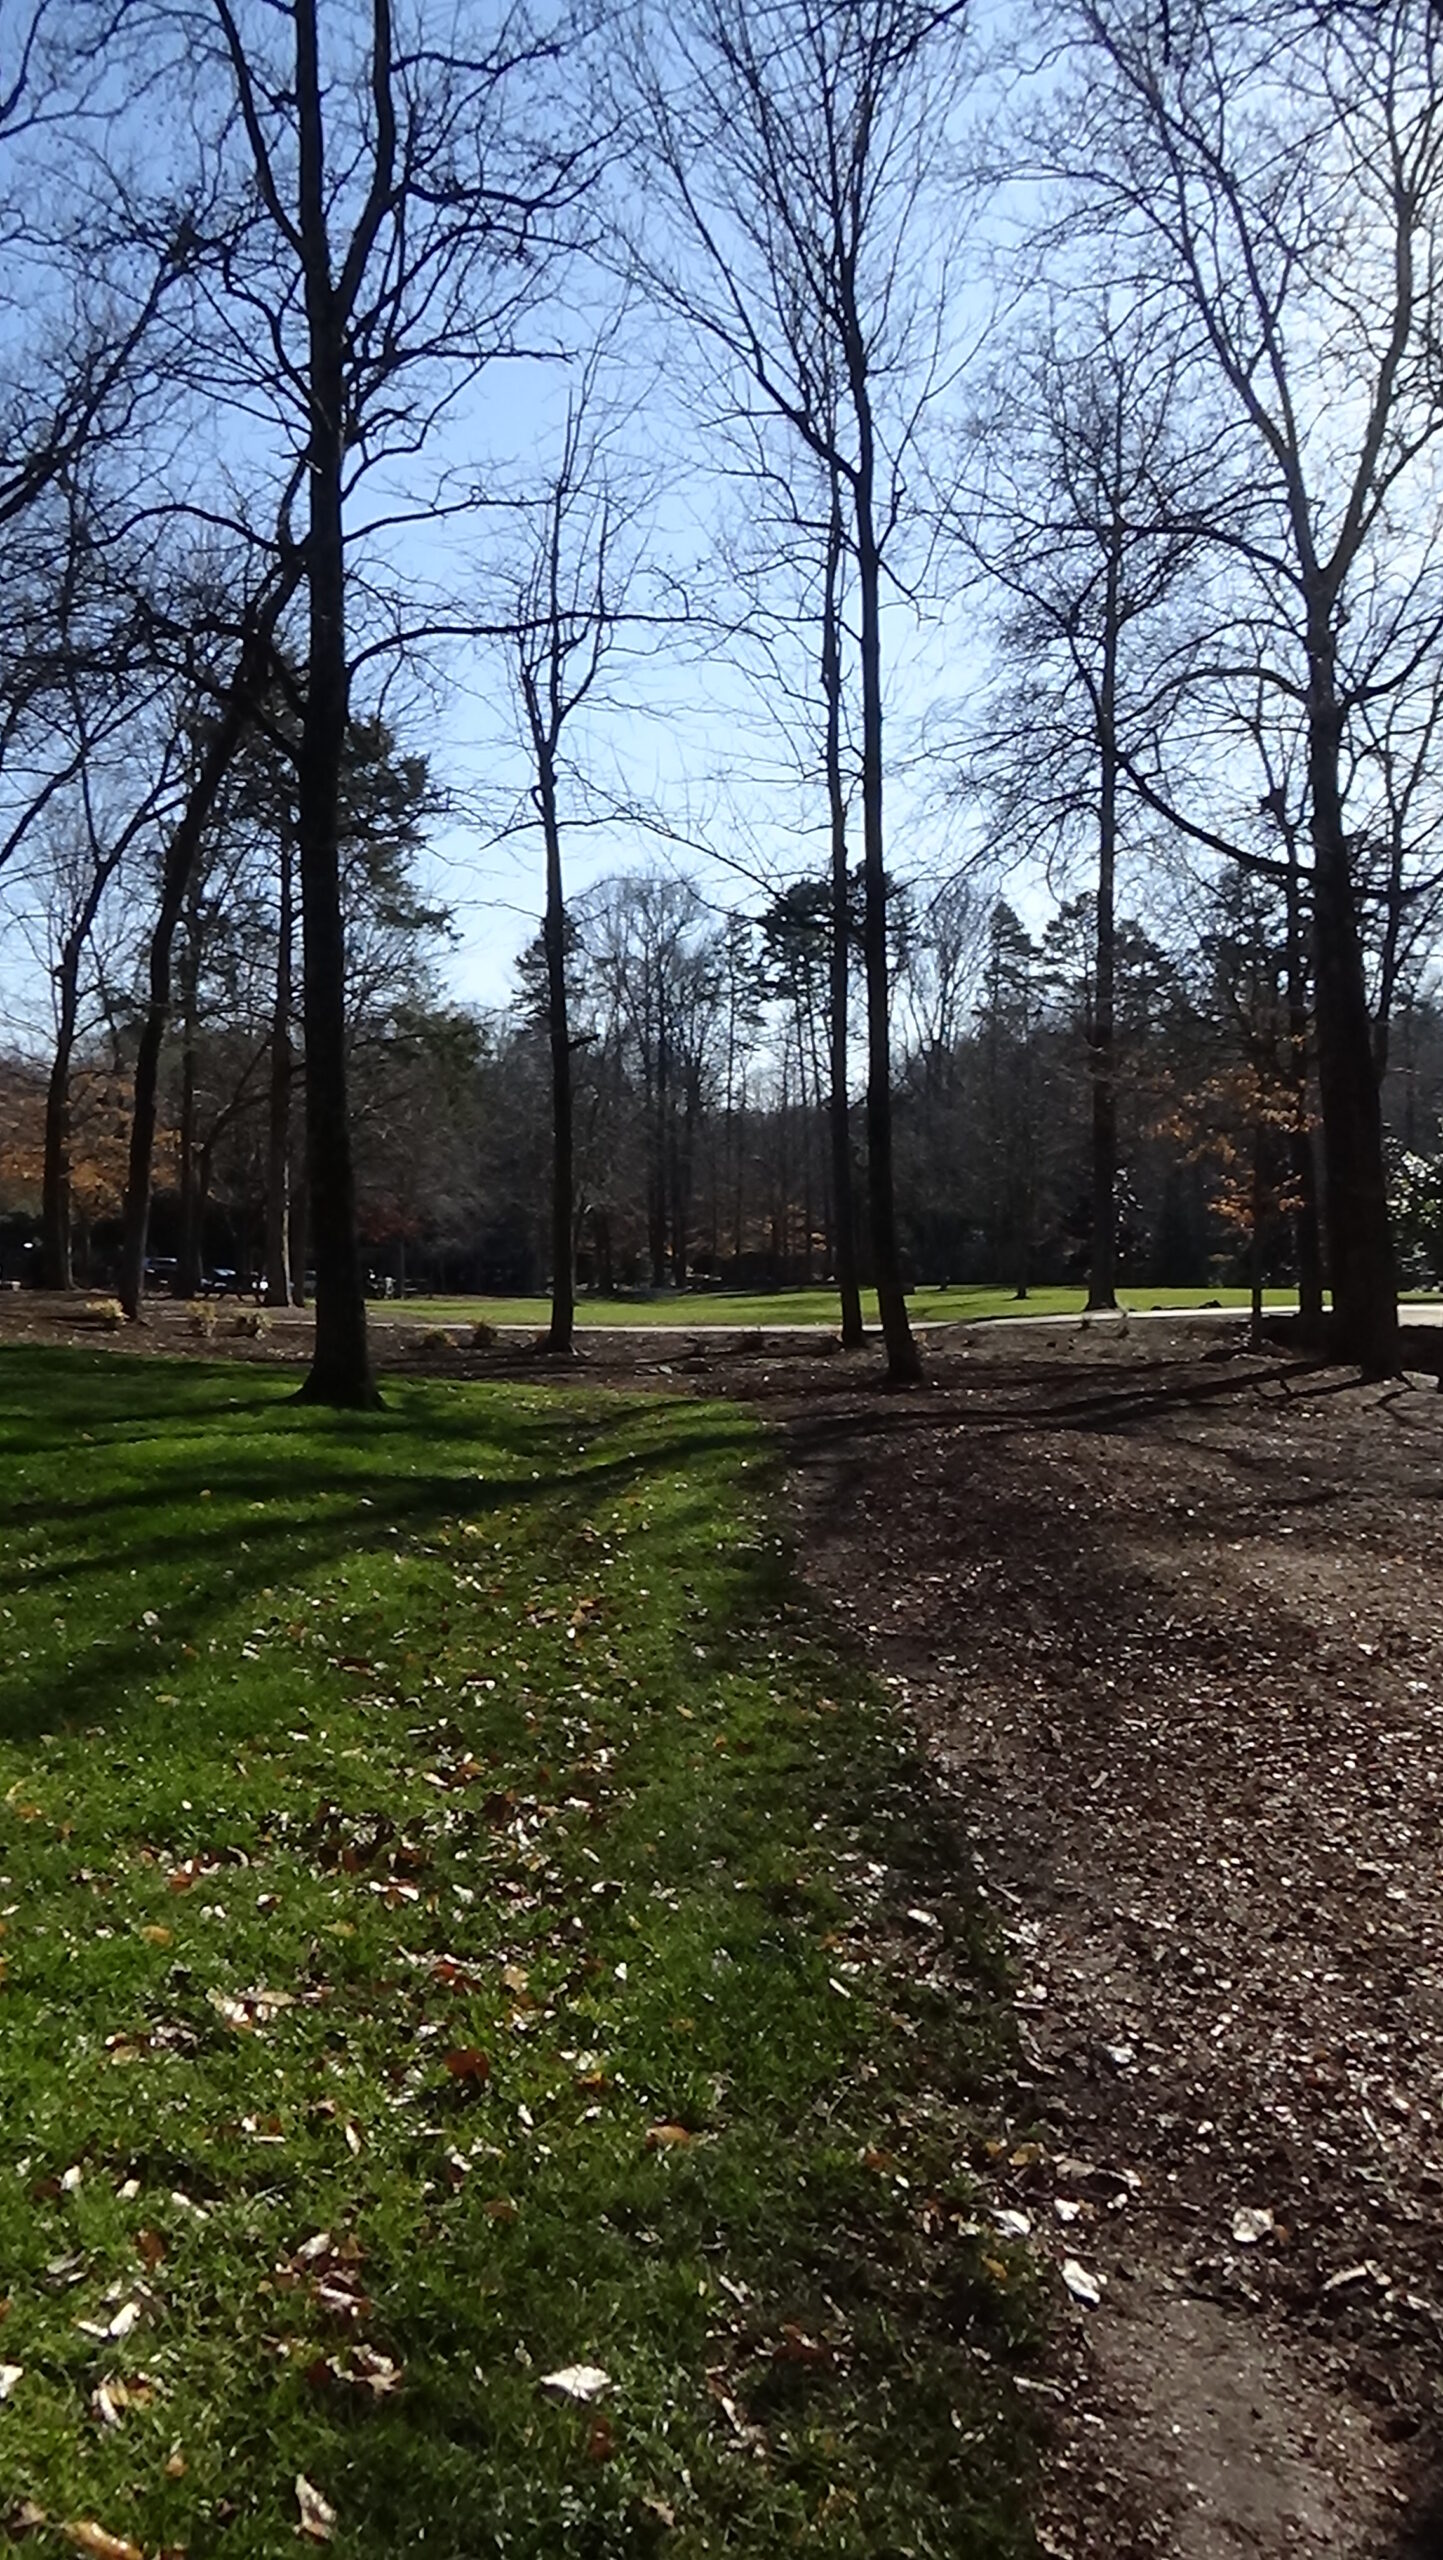
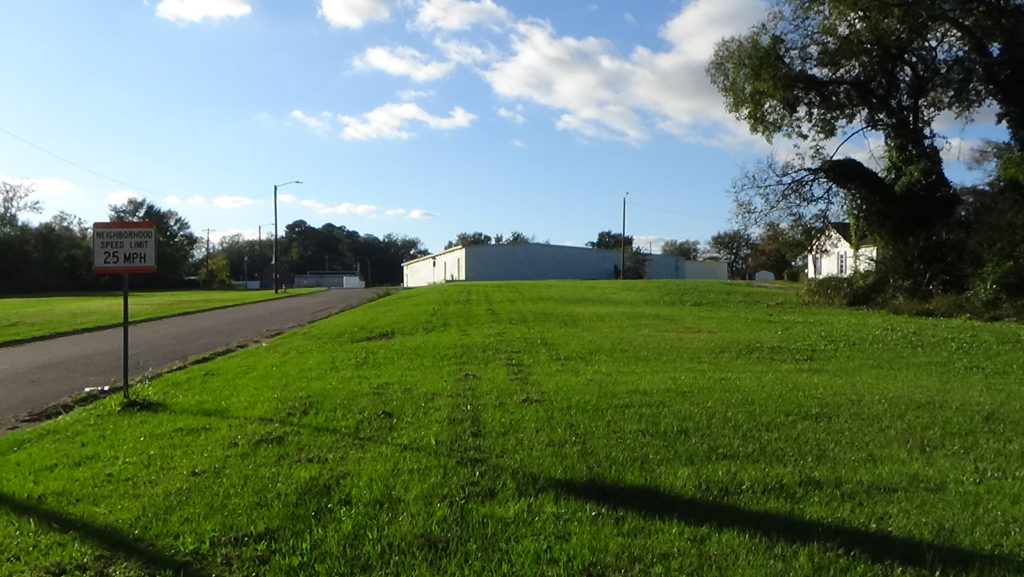
The Hillsborough-Camden Road passed uphill from the mill on the right, between the modern house and field behind, down to Buffalo Ford to the left. The Deep River is downhill behind the field, running right to left.
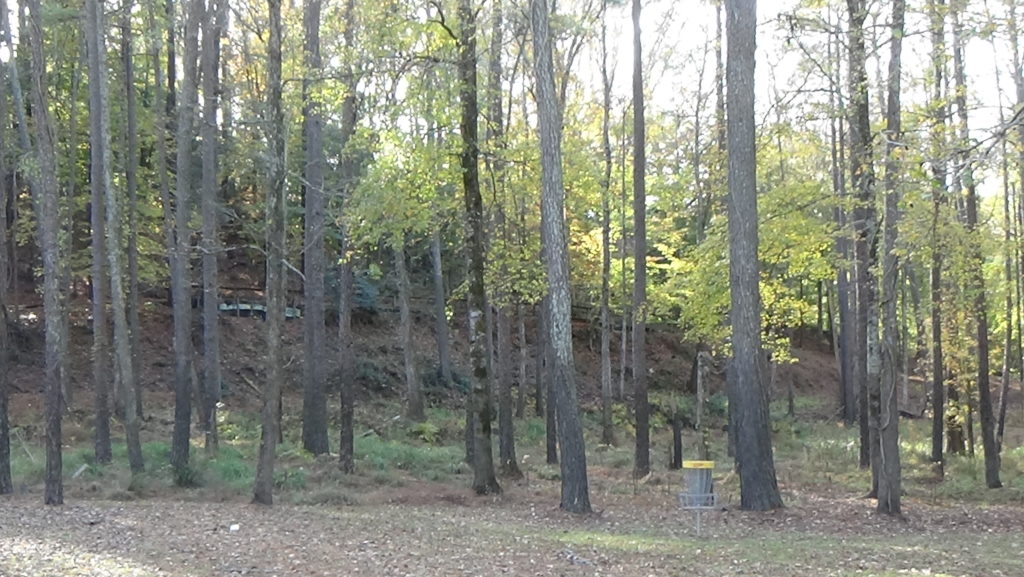
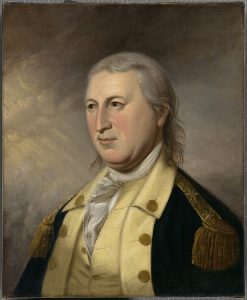
Spreading up the slope from the left on Wednesday, July 19, 1780, are regular Continental Army troops setting up camp. Maj. Gen. Baron Johann de Kalb has brought them here from downriver to resupply and collect any of the 200 or so troops who might have escaped the defeat in Charleston. Born to poor Bavarians, he had fought his way to a British command in the Seven Years’ War. He then offered his services to the Continental Congress. “De Kalb was over six feet tall, good-natured, intelligent, and absolutely fearless.”[a] His 1,500 men stretch from this point south along the road and river to Buffalo Ford. He makes the mill his headquarters.
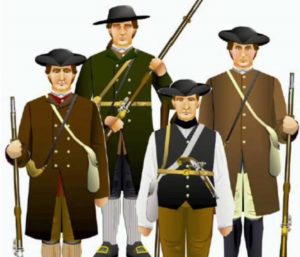
About a week later, another column appears from the right by way of Hillsborough. However, these are part-time “militia” soldiers in everyday clothing, 1,400 Virginians.[2] With them is Maj. Gen. Horatio Gates, the self-proclaimed hero of the Battle of Saratoga (N.Y.), in which the British army surrendered. Gates is the new commander of the Southern Department of the Continental Army. The previous commander had surrendered in Charleston. Gates is greeted with a salute from eight cannons despite limited gunpowder supplies.[b]
Gates informs de Kalb that he is relieved of command. The latter is in every sense “relieved”: Though a good military officer, as a foreigner de Kalb is not well equipped for the politics that came with command of a Continental army.[3] The new forces stretch the camp further south, a mile beyond the ford.[4]
The next day Gates, de Kalb, and the other officers hold a “council of war” to discuss next steps, probably in the mill. They know they need to confront the British in South Carolina, but the question is timing. Another 1,200 North Carolina militia are camped on the distant Yadkin River, and the cavalry is in Halifax getting reorganized.
On the other hand, there is little food here: “There was scarcely sufficient grain even for the immediate subsistence of the troops, and the only meat ration that could be procured was lean beef, driven daily out of the woods and canebrakes, where the cattle had wintered.’”[5] A sergeant-major wrote in his memoir, “what was procured after this manner could scarce keep the troops from starving, which occasioned a vast number of men to desert to the enemy.”[iii]
Gates also thinks he can catch the British off guard by moving quickly. Still, his officers are shocked when he orders them to prepare to march, rather than at least wait for the other militia troops. The next day, you watch as they pack up camp and move away to the south to cross the ford.
Unfortunately, without trained cavalry, Gates finds out too late that the British had ventured north from Charleston. The two armies literally stumble into each other just north of Camden, and on August 16 the Patriots suffer a disastrous defeat. Baron de Kalb pays for Gates’ mistake with his life.
Fanning’s “Fort”
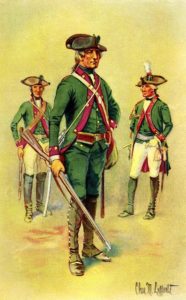
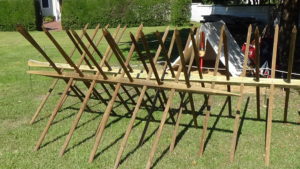
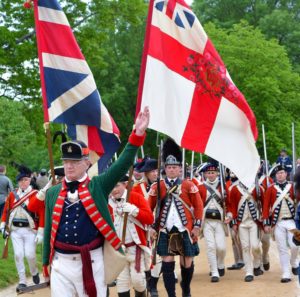
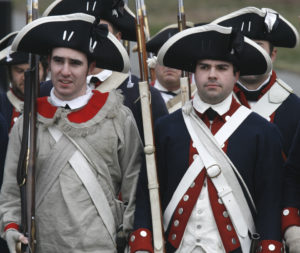
In the middle of October, a man about to gain more fame, or infamy, in this state arrives with a small party of militia on horseback from the south. These men are Americans still loyal to King George III, called Loyalists or “Tories.” Their leader is Col. David Fanning, already known for his vigilante justice against Patriots (“Whigs”) and for his ability to escape custody. His company sets up a winter camp nearby, probably building small wooden lean-tos or huts.
The location of his camp is unclear. The site of the modern house and field behind it is the best candidate, based on some references in accounts of the day and its location on high ground near the mill, with a spring uphill from that, and the road. But the camp could have been on the other side of the creek.[6]
In January 1781, Fanning has a flyer printed up, and sends men from the camp to post it all over the region with a great offer: “The Bounty allowed for each man, is three Guineas… (and) that during his service he shall be entitled to Clothing, Pay, Provisions, and all the advantages of his Majesty’s Regular, and Provincial (colonial) Troops, and at the end of the Rebellion, when he becomes discharged, of course, he is to receive as a reward for his services during the war, a free grant of Land agreeable to his Majesty’s proclamation.”
At the end of the month, Cornwallis invaded the state and called for Loyalists to join him in Hillsborough. Around Saturday, February 24, Fanning and his now-larger company packed up and moved north past the mill. They narrowly escaped being part of Col. John Pyle’s defeat by Continental cavalry on the way, who also prevented Fanning from joining Cornwallis at the Battle of Guilford Court House.
In Fanning’s absence, a Patriot militia unit moves in here. They seize an enslaved man Fanning left behind and “sold him at public auction for 110 pounds,” Fanning complained years later. (That’s around $18,500 in modern money.) The man “was sent over the mountains, and I never saw him since.”[7]
A larger Patriot presence travels down the road past the mill on Thursday, March 29. Two weeks to the day after Guilford, the Continental Army of Maj. Gen. Nathanael Greene is on the hunt for a rematch. Here Greene learns Cornwallis is trapped against the Deep farther down at Ramsey’s Mill (near the base of today’s Jordan Lake). The next morning they go back the way they came and take the road east roughly where Highway 64 runs now.
Once source says a dispute arose over who should command the Chatham and Randolph county Tory militia. After coming back here, Fanning won an election in June, it says, but grumbling ensued.[c] No matter the cause, Fanning and some of his men definitely took a petition from his backers to Maj. James Craig in British-occupied Wilmington, asking Craig to appoint Fanning as the commander.
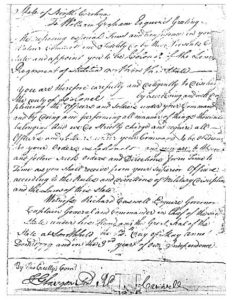
Fanning returns on Thursday, July 12, 1781. About 150 Loyalists muster here, and he presumably reads Craig’s order as you watch. Craig has officially appointed him “Colonel of the Loyal Militia” in the two counties, and goes on to say: “As Colonel, you are hereby fully impowered (sic) to assemble the militia, and lead them against any parties of Rebels, or others; the King’s enemies, as often as necessary to compel all persons whatsoever to join you to seize and disarm, and when necessary to detain, in confinement, all Rebels or others, acting against his Majesty’s Gov’t; and to do all other acts becoming a King’s officer, and good subject.”[8]
Five days later Fanning learns that on the same day as his muster, Whig militia had mustered at the Chatham County Courthouse in Pittsboro and arrested local Tories. (A state law required all able-bodied men to serve with the Patriots or pay for a substitute.) Fanning immediately takes off north with the men he had, planning to turn east and ride overnight to rescue the captives.
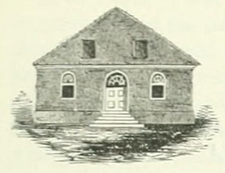
The Tories arrived too early: The court session was set for 8 a.m., and it was only 7! So Fanning sent pickets out in all directions from the crossroads the courthouse was in—not where a later “Old Courthouse” sits today—to capture the Whigs as they arrived for court.
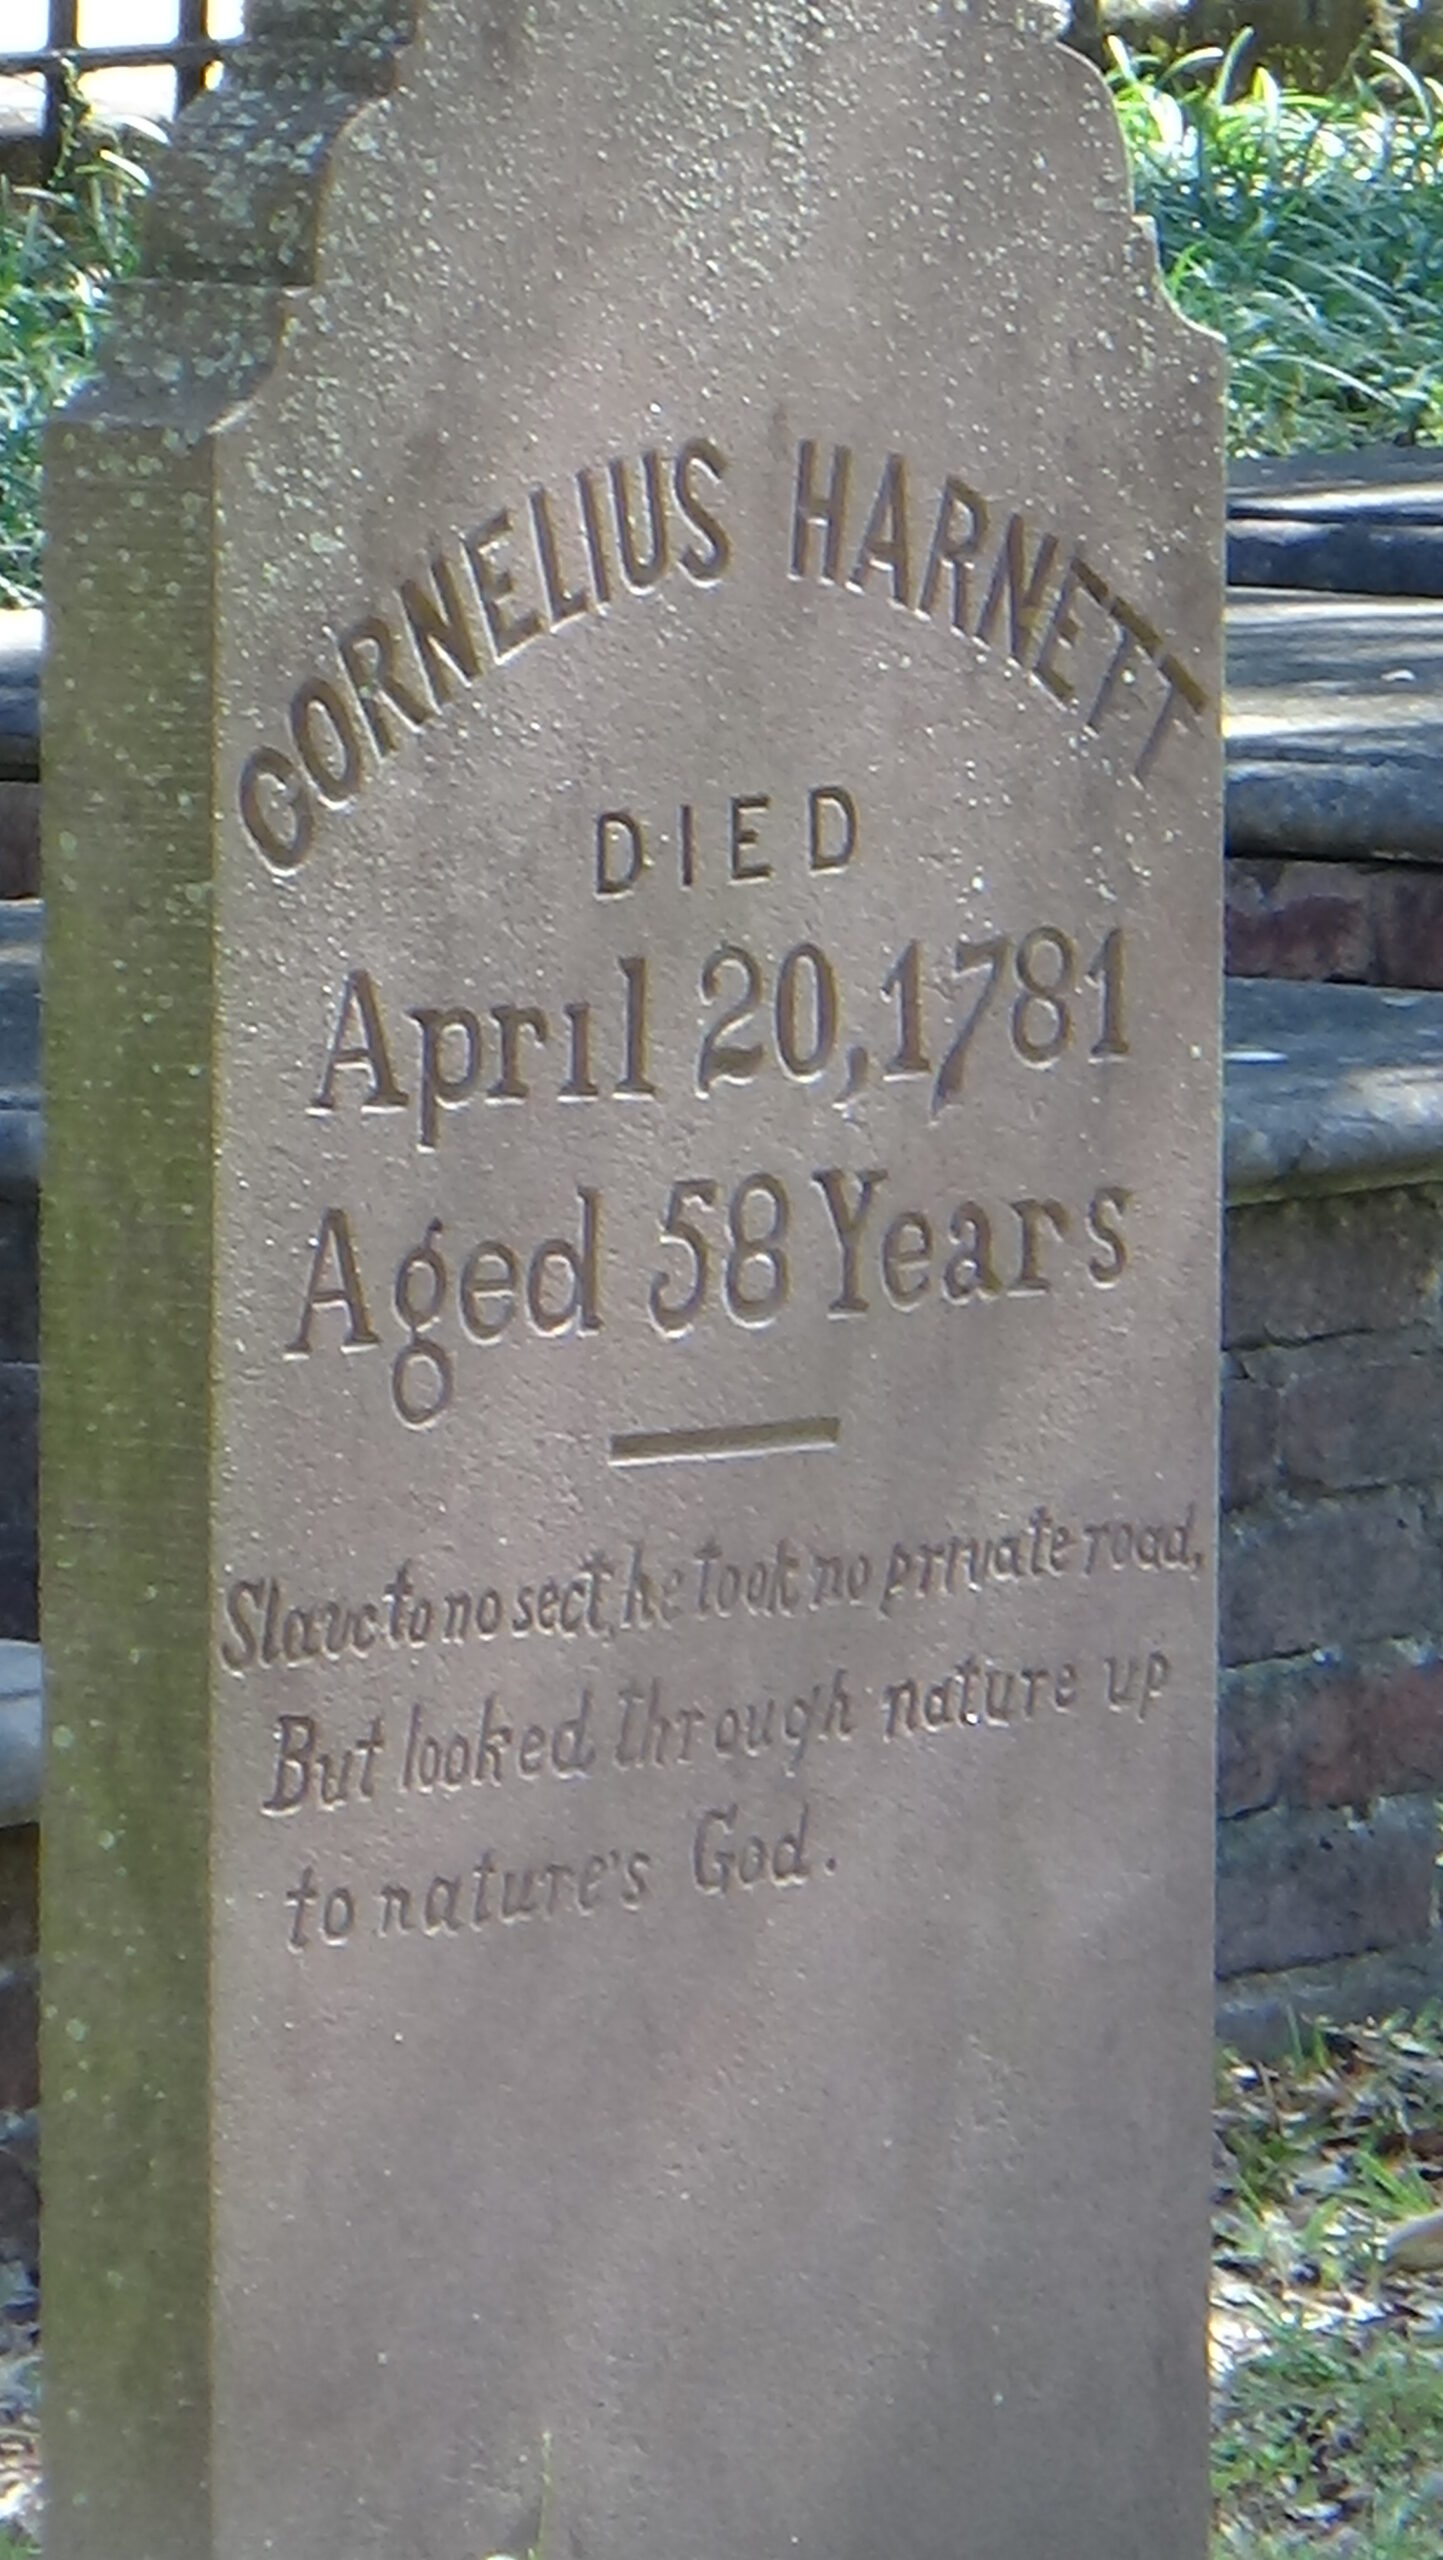
That evening, Wednesday, July 18, you see Fanning’s force come back up the road past the mill with 53 prisoners bound by rope. Among them are the top officers of the Chatham Militia, three Provincial Assembly delegates, and a Continental Army officer. Fanning frees most of them, but soon takes the 14 he “knew were violent against the government” to Craig in Wilmington.[9]
For the rest of 1781 this is Fanning’s home base for numerous activities: At his request, he received orders from the state Loyalist commander to “center” on Harmon Cox’s Mill. The company attacks Patriot forces and homes—see “Balfour’s Murder” and “House in the Horseshoe”—among other activities detailed below. Meanwhile they appear to have built a fort of some sort here for extra protection.
In early August, Fanning leaves some men here while he rides out to capture wagons of salt bound for the Continental Army in South Carolina. When he returns with the wagons, he finds the fort under attack by 150 Patriots. One of his men and some horses in the fort are wounded. Combined, Fanning has around 150 men himself. The Whigs break off the attack when they spot him and retreat. The Patriots send a flag of truce to Fanning to offer peace. He sends back word that he is “determined to make peace with the sword or otherwise till they should become subjects of Great Britain.”[10] The Patriots withdraw.
Fanning makes a supply run to Wilmington shortly after with his men. They unexpectedly end up in the Second Battle of Beattie’s Bridge, where they defeat a much larger Patriot militia force.
Advertising a Threat
Fanning issues an “advertisement” from the fort on Thursday, September 6, 1781—really a threat—that couriers circulate throughout the region: “This is to let all persons know, that do not make ready and repair immediately to camp, that their property shall be seized, and sold at public sale; and if they are taken, and brought into camp they shall be sent to Wilmington, as prisoners, and there, remain, as such, in the provost; and be considered as Rebels; also, if any rebel is willing to surrender and come in he shall reap the benefit of a subject (of the King).”
The threat and successful battle help Fanning gather enough men to kidnap the state governor and other government officials in Hillsborough a week later. But Fanning was badly wounded at the Battle of Lindley’s Mill on the way back here, after which the prisoners were taken to Wilmington instead. Fanning apparently never returned here. He stayed active in North and South Carolina until April of 1782 (see Faith Rock), but was never able to raise a significant force again.
On Sunday, December 10, 1781, 300 Patriot militia from Wilkes County and Virginia under Col. Elijah Isaacs claim the fort for three months. On Christmas, Gov. Alexander Martin issued an offer of pardon to all Loyalists who surrender by March 10, and an unknown number appear here. But Isaacs betrays them: All are taken prisoner, not just the criminals among them, and marched off with the army across the ford to a prisoner-of-war camp in Salisbury.

Related Locations
Also nearby:
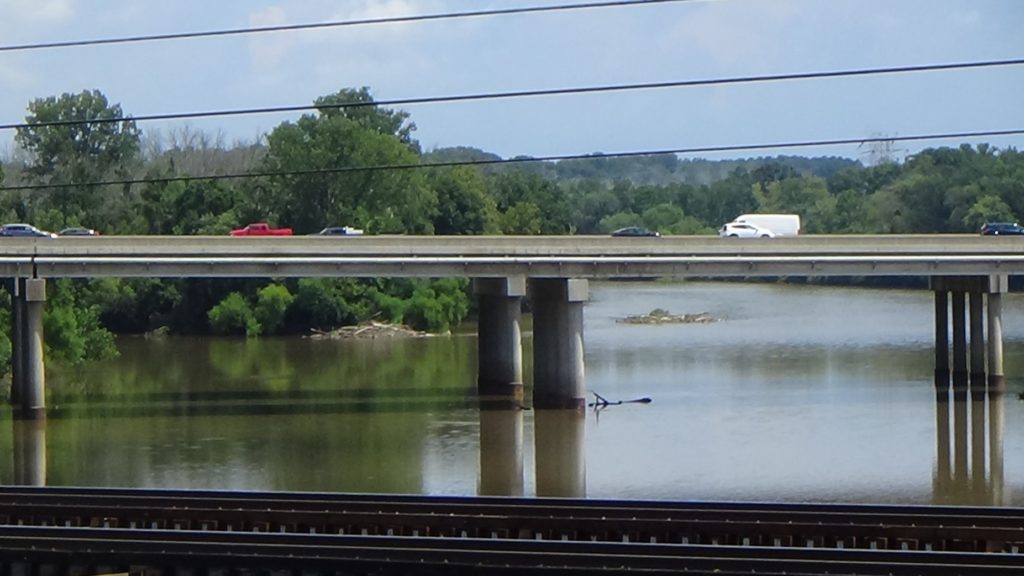
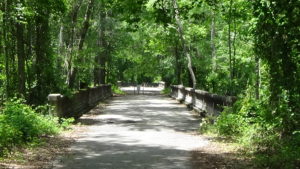
- To see Buffalo Ford, continue south (left facing the campsite) to the next intersection, Hinshaw Town Road. (This road is on or parallels the route of the Salisbury-Cross Creek Road.) Turn right, and park on the shoulder just before or after the bridge. Walk onto the north (right) side, and look to the right. The ford was 100 yards upstream, the length of an American football field. Local tradition holds that buffaloes used to cross here, and Native Americans following their path turned it into a trail, which European-Americans later built into a wagon road. A local historian says it remained in use supporting a road bridge until 1945, when that was washed away by a flood. The road was realigned to here the next decade.[d]
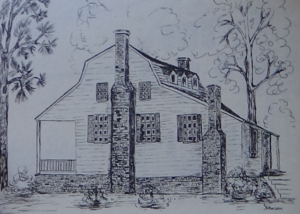
- If you will leave by way of NC Highway 22 toward Ramseur, read the rest of this paragraph first, and look to the left after you cross Millstone Creek and climb the hill. The summit behind and to the left of the modern farmhouse was the location of the Harmon Cox home. Another spring is on the far side, and a wagon road wound down to a private ford across the river, probably leading to the William Cox Mill. (Note that there is no safe place to park here, and everything off the highway right-of-way is private property.)[11]

Historical Tidbit
Descendants of the Coxes took in a seven-year-old named Braxton Craven in the original home. He became the first assistant principal of a school that he later took over and helped to convert into Trinity College. (The town of Trinity grew up around it.) Ten years after Craven’s death, in 1892, the college moved to Durham. In 1924 it became Duke University.[12]


More Information
- Chilton, Mark, ‘Wandering through the NC Piedmont: Cox Mysteries Revealed’, Wandering through the NC Piedmont, 2009 <https://piedmontwanderings.blogspot.com/2009/01/cox-mysteries-revealed.html> [accessed 18 April 2020]
- Chilton, Mark, ‘Wandering through the NC Piedmont: Cox’s Mill and The Headquarters of Col. David Fanning’, Wandering through the NC Piedmont, 2008 <https://piedmontwanderings.blogspot.com/2008/12/coxs-mill-and-headquarters-of-col-david.html> [accessed 18 April 2020]
- Cox, Lisa, Alamance Battleground Interpreter, Interview and e-mail, 9/20/24
- Dixon, Warren, and Mac Whatley, Buffalo Ford Cultural Heritage Nomination
- Durden, Robert, ‘Trinity College’, NCpedia, 2006 <https://www.ncpedia.org/trinity-college> [accessed 6 July 2020]
- Fanning, David, The Narrative of Colonel David Fanning (New York, NY: Reprinted for Joseph Sabin, 1865) <https://archive.org/details/toryintherevolu00fannrich/page/n8/mode/2up>
- ‘Harmon Cox (1723-1812)’, Find a Grave Memorial <https://www.findagrave.com/memorial/115076588/harmon-cox> [accessed 21 May 2020]
- ‘Herman Husband (1724-1795)’, WikiTree FREE Family Tree, 2019 <https://www.wikitree.com/wiki/Husband-167> [accessed 21 May 2020]
- ‘Individual Page: William Cox’, RootsWeb <https://wc.rootsweb.com/trees/199452/I741990/-/individual> [accessed 21 May 2020]
- Johnson, Emily Cox, and William Johnson, Cox’s Mill Property, Interview and Tour, 2020
- Kalmanson, Arnold W., ‘Otho Holland Williams and the Southern Campaign of 1780-1782’ (Salisbury University, 1990) <http://mdsoar.org/handle/11603/11437> [accessed 13 May 2020]
- Lewis, J. D., ‘Cox’s Mill’, The American Revolution in North Carolina, 2013 <https://www.carolana.com/NC/Revolution/revolution_coxs_mill_3.html> [accessed 18 April 2020]
- ‘Marker: H-15’, North Carolina Highway Historical Marker Program <http://www.ncmarkers.com/Markers.aspx?MarkerId=H-15> [accessed 20 May 2020]
- ‘Marker: K-10’, North Carolina Highway Historical Marker Program <http://www.ncmarkers.com/Markers.aspx?MarkerId=K-10> [accessed 20 May 2020]
- Pancake, John S., This Destructive War: The British Campaign in the Carolinas, 1780-1782 (University, AL : University of Alabama Press, 1985) <http://archive.org/details/thisdestructivew00panc> [accessed 13 October 2020]
- Rankin, Hugh F., The North Carolina Continentals (Chapel Hill: The University of North Carolina Press, 1971)
- Reese, Phillip, ‘Turning into Memories: Almost All of the Old Grist Mills That Were Once so Prevalent in Randolph County Are Gone’, Greensboro News and Record, 2001 <https://www.greensboro.com/turning-into-memories-almost-all-of-the-old-grist-mills-that-were-once-so-prevalent/article_a3b1fca1-ebe2-5639-bd7c-d3fe7375ecdf.html> [accessed 18 April 2020]
- Russell, Mattie, ‘Craven, Braxton’, NCpedia, 1979 <https://www.ncpedia.org/biography/craven-braxton> [accessed 6 July 2020]
- Seymour, William, A Journal of the Southern Expedition, 1780-1783 (The Pennsylvania Magazine of History and Biography, 1883) <http://archive.org/details/jstor-20084613> [accessed 19 November 2021]
- Sherman, Wm. Thomas, Calendar and Record of the Revolutionary War in the South: 1780-1781, Tenth Edition (Seattle, WA: Gun Jones Publishing, 2007) <https://www.americanrevolution.org/calendar_south_10_ed_update_2017.pdf>
- Whatley, Mac, ‘Buffalo Ford’, E-mail, 23 April 2020
[1] Dixon and Whatley.
[2] Kalmanson 1990.
[3] Ibid.
[4] Dixon and Whatley.
[5] Reese 2001.
[6] Johnson and Johnson 2020.
[7] Fanning 1865; dollar amount from Nye, Eric, ‘Currency Converter, Pounds Sterling to Dollars, 1264 to Present’ <https://www.uwyo.edu/numimage/currency.htm>.
[8] Fanning.
[9] Ibid.
[10] Ibid.
[11] Johnson and Johnson.
[12] Durden 2006; Johnson and Johnson; Russell 1979.
[a] Pancake 1985.
[b] Rankin 1971; Willcox, G. W., A History of the House in the Horseshoe: Her People and Her Deep River Neighbors (Historical Research Services, 1999), New Hanover Library.
[c] Sherman 2007. Though impressively researched, and generally as or more correct than similar comprehensive reviews of the Southern campaigns, this source mistakes Cox’s Mill for a frequent wartime campsite for various forces at Willcox’s Mill farther down Deep River.
[d] Hairr, John, ‘The Old Buffalo Ford: A Forgotten Place Along Deep River’, in Stories of Deep River (Erwin, N.C.: Averasboro Press, 1999). Hairr was wrong about Tryon’s army using the ford, however (see Tryon’s March).
[i] ‘Minutes of the Committee of the Regulators, Volume 07, Pages 766-767’, Documenting the American South: Colonial and State Records of North Carolina, 1768 <https://docsouth.unc.edu/csr/index.php/document/csr07-0308> [accessed 24 February 2022].
[ii] Isaac Edwards to Harmon Cox, June 1771 (provided by Cox 2024).
[iii] Seymour 1883.