Location
Other maps: Bing, Google, MapQuest.
Coordinates: 34.4579, -78.1090.
Type: Sight
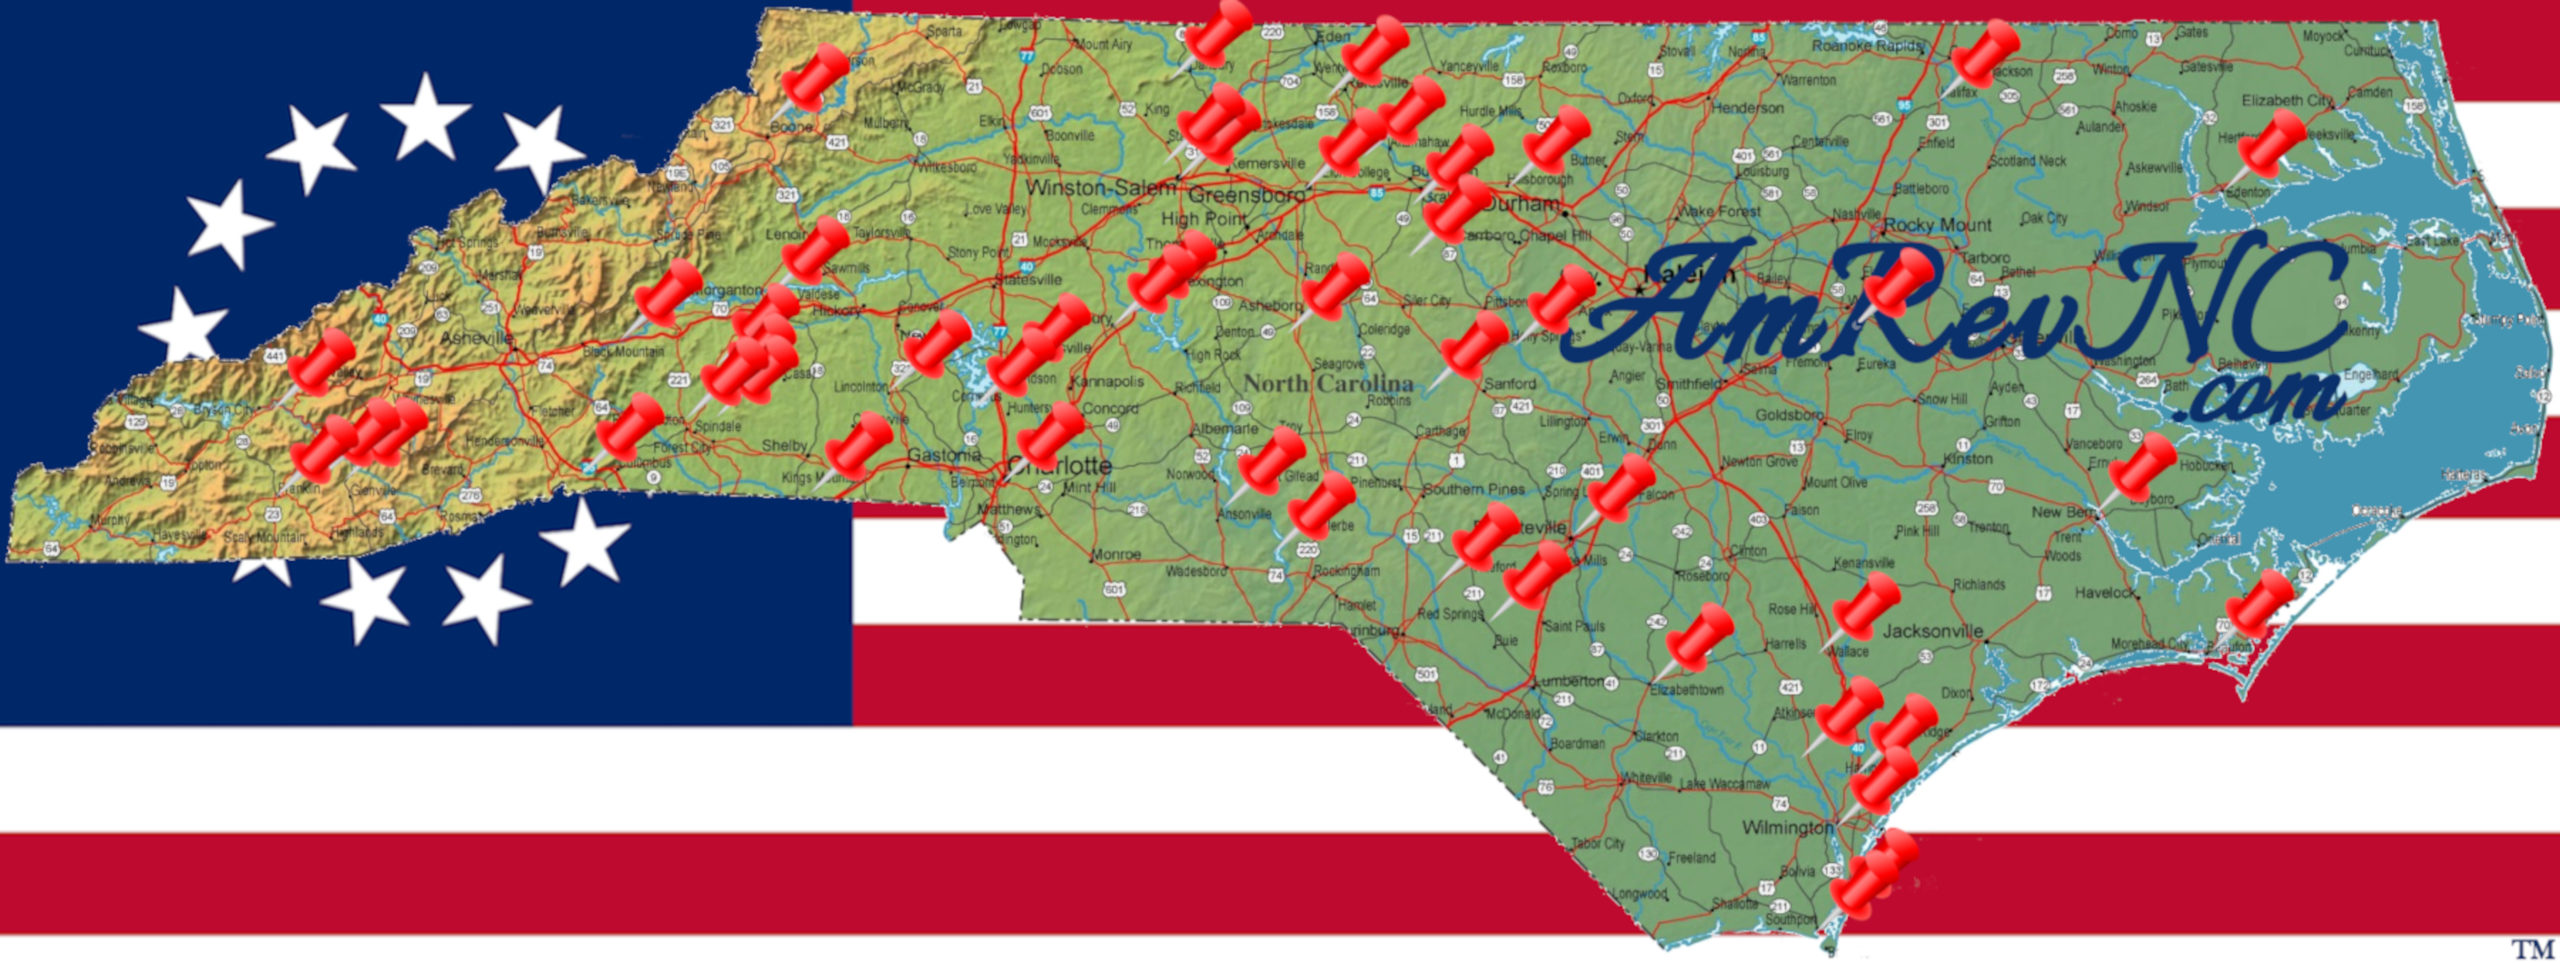
Tour: Cape Fear
County: Pender
![]() Full
Full
Moores Creek National Battlefield can be visited even if the Visitor Center is closed, but arriving when it is open will enhance your experience through its exhibits, film, and map. The trails are open daily, but check their website for their seasonal hours if you plan to go early or late in the day.
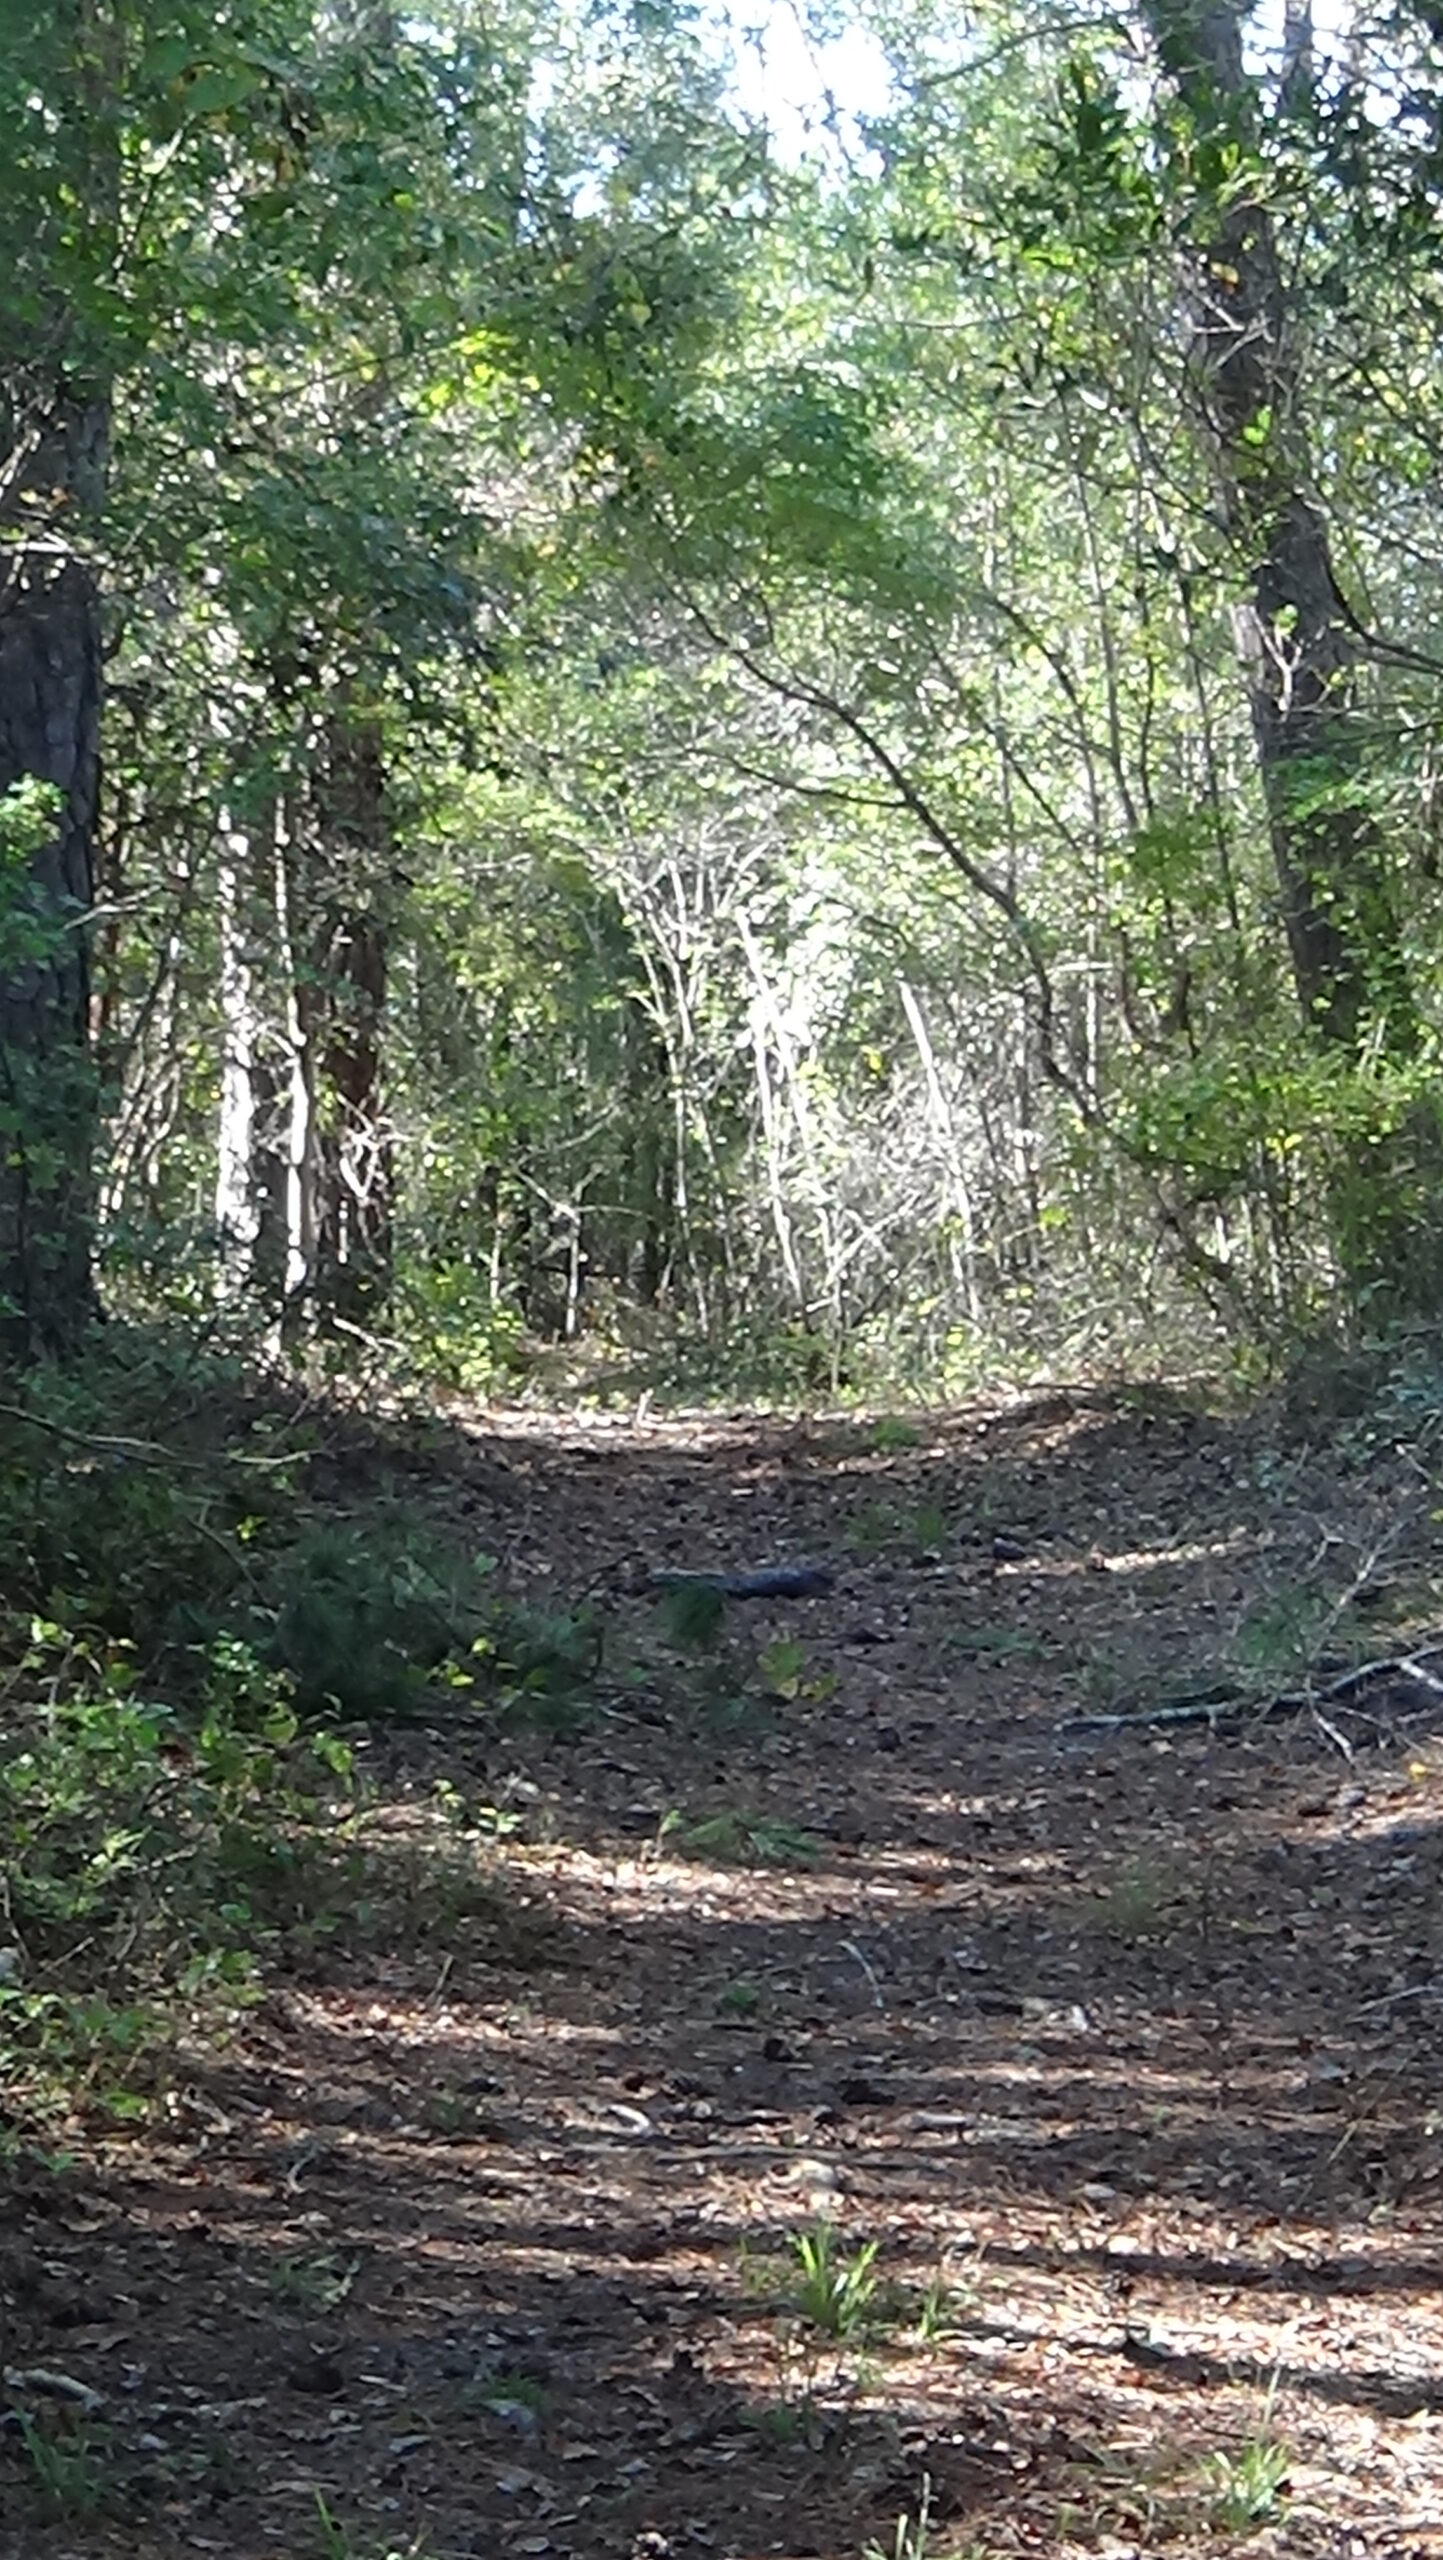
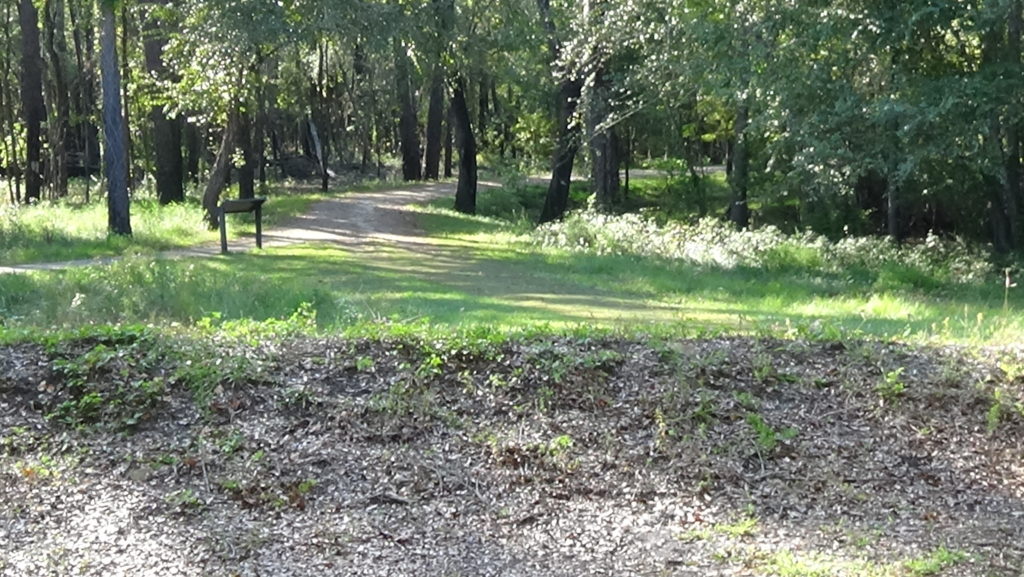
The mile-long History Trail this page follows is paved (mostly rubberized) or uses a boardwalk. The latter goes over a swamp, so you may want bug spray!

Context
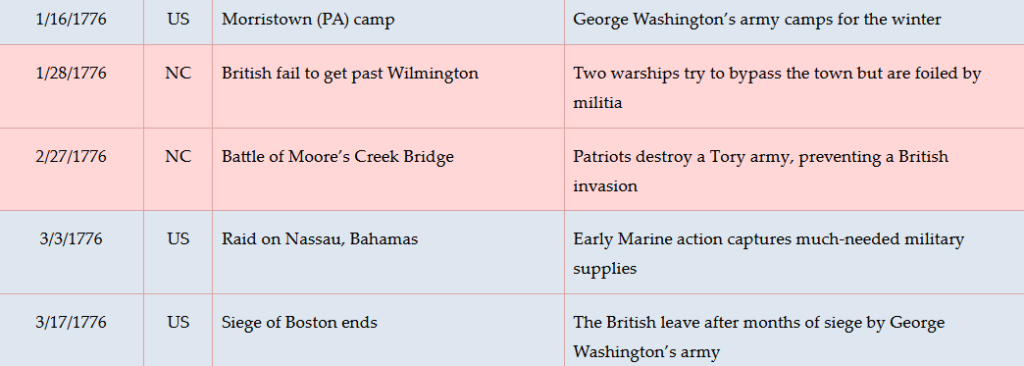
 Six months before the Declaration of Independence, the British government has already lost control of the colony of North Carolina, and Royal Gov. Josiah Martin is living on a ship off the mouth of the Cape Fear River.
Situation
British/Tory
At Martin’s suggestion, two British armies are converging by sea to take the province back, and Martin has called for loyal volunteers to join them. Nearly 1,600 Loyalists or “Tories” met in Cross Creek (modern Fayetteville), only half as many as Martin expected. They then marched toward Brunswick Town under Brig. Gen. Donald MacDonald of the British Army. Only 500 had firearms, and most had no training as soldiers. Along the way as many as 700 deserted. The remaining 900 or so made camp about six miles to the northwest, where Atkinson is today.
Patriot
Patriots (“Whigs”) intercepted Martin’s earlier message recruiting Loyalists, and are gathering from across the state to stop MacDonald’s force. Eastern regiments blocked the direct route south of Cross Creek and a possible second route along the north side of the Cape Fear River. Wilmington-area militia realize the Tories will have to cross Widow Moore’s Creek using the one bridge strong enough to bear their wagons. The creek was named for Elizabeth Moore, who had inherited a large amount of land by it from her husband.
Date
Tuesday, February 27, 1776.
Timeline

Imagine the Scene
Preparations and Decisions
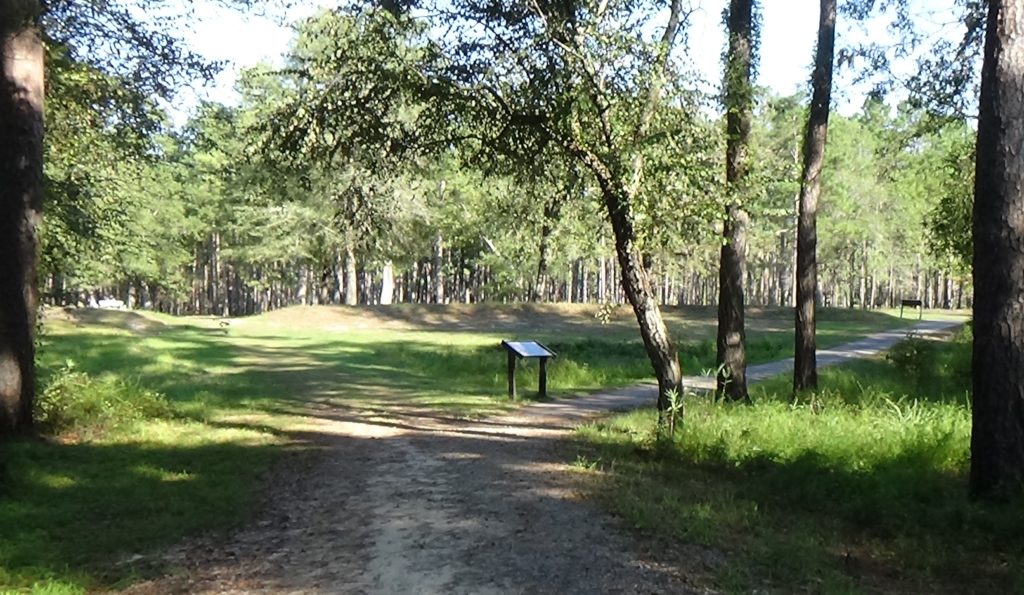
Walk to the start of the History Trail behind the Visitor Center. After passing inside a low ridge, take the right fork toward the woods. Follow the trail to and over the boardwalk to the farthest point of the trail. Loop left a little way further to the next historical marker.
Look at the original road you just passed, now to the far right of the marker.
It is a frigid Monday night. About 800 men from the New Bern area under Col. Richard Caswell are camped on this side of the creek. They are probably up the road out of sight, prepared to defend the bridge. Col. Alexander Lillington’s 150 Patriots from around Wilmington have been quickly finishing the ridge of dirt called “earthworks” you saw before the boardwalk, which surround his campsite on the other side of the creek.
They have cannons. At least one three-pounder—referring to the weight of the balls it shot—nicknamed “Mother Covington” is here, and a second cannon tradition refers to as a half-pounder “daughter.” You will see examples of these further down the trail. However, park historians say the Patriots also have larger six- or nine-pounders; another source says the New Bern Committee of Safety ordered men of an N.C. Continental Army Regiment there to join Caswell with its artillery.[1] Some of the volunteers supposedly come to examine the cannons, never having seen artillery.
The Patriots know the Loyalists will have to come down the road you are looking at to cross the bridge. Around midnight, a Tory horseman appears and says he has a message for the rebel commander from MacDonald. Guards on the road let him pass. Somewhere near you he presents Caswell with a promise from MacDonald: The Patriots will be allowed to go free if they agree to support King George III. Most likely MacDonald knew this would not be accepted, and the courier is really scouting the Patriot position. He is rebuffed and gallops back toward his camp.
After getting the courier’s report, the Loyalist officers discuss what to do. MacDonald probably advises against an attack, wishing instead to simply go around by another route. However, he is too ill to make a stand, and gives up command temporarily. Lt. Col. Donald McLeod leads their forces in this direction at 1 a.m., hoping to make a surprise attack at dawn.
Another visitor here wipes out any advantage the scout might have provided. Felix Kenan deserted from the Tory camp to warn the Whigs about the dawn attack. (Whether he had joined the Loyalists as a spy or had a change of heart is unknown.)
As you can see, Caswell’s position is dangerous. If pushed back under attack, his force would be trapped in the bend of the creek. Caswell meets with Lillington on the far side of the bridge, and they apparently hatch a plan.
A Bridge is Greased
Walk onto the bridge, which is a reproduction.
Caswell’s men gather their things and walk past you to the other side. However, they leave their campfires burning to deceive the Tories. Shortly thereafter men start tearing up the bridge planks from underneath your feet, exposing two parallel supports called “stringers,” probably logs without bark. They also bring soap and animal fat[2] from their campsites and begin smearing the stringers to make them slippery.

Meanwhile, the Tory officers decide to split into two wings and move them to opposite sides of the road. The wing on the left side of the road, from your viewpoint, sends forward scouts when it spots the fires of Caswell’s campsite. After determining the Patriots are gone, their officers decide to return to camp to consult with MacDonald. They fall back into the woods to await daylight.
The other wing sees the same thing but decides to keep coming. As one historian put it, “Literally the right hand did not know what the left hand was doing, and there was no way for the two wings to communicate now.”[3]
Gaelic in the Dark
Cross the bridge before the Whigs finish tearing it up! Walk to where the road curves left, and you can see both the bridge and the breastwork. According to archaeologists, though the modern earthworks are reconstructed, they are exactly where the Patriots’ were that day. The current ones are not as large, however.
Here facing the bridge they are the most formidable: roughly four feet high, seven feet wide, with a two-foot ditch along the outside. When Caswell’s troops pull back, they bring their cannons, and Lillington had three of his own. Some were probably loaded with “swanshot,” a tin can that broke apart when fired and spread about 20 small bullets like buckshot.[4] A small number of cannons are placed behind the earthwork directly in line with the bridge, like the “daughter” model you see; a few others are close to the road where the “mother” is now.
The men had started another trench at a right angle to the road between you and the bridge, to the left as you face the bridge, but for unknown reasons stopped.[5] The Patriots take up positions on both sides of the road behind the completed earthworks.
Just before dawn, still in darkness, vague shapes appear at the far side of the bridge. They draw up short when they see the planks are gone. A Whig sentry is standing just on this side. He asks who they are. “A friend of the King!” a Loyalist answers. He probably thinks the people on this side are fellow Tories, maybe from the other wing.
The sentry squats down to make a smaller target, and decides what to do. The voice on the other side now asks whom he is talking to—in Gaelic. The sentry has no answer. What comes next is a bullet, followed by several more. To say the least, this wakens the entire camp behind you.
The person on the other side was McLean, ahead of his wing of the Loyalists. McLeod hears the shots and runs forward from his wing. The two of them make a rash decision.
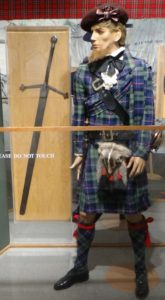
A company of 80 Highlanders form into two single-file columns to cross the stringers. No eyewitness accounts state whether any are wearing kilts! Scots who accepted transportation here from Britain foreswore wearing any “‘plaid, tartan, or any part of Highland garb.’”[6] But they do bear traditional Scottish broadswords called “claymores.” McLeod leads one column, and Capt. John Campbell the other. The rest of McLean’s wing follows them.
It may seem strange that Scots, traditional enemies of England, would be fighting for the English King. The oldest among them, or the fathers of some men, had sworn an oath to support the throne as grounds for release after their capture at the 1746 Battle of Culloden in Scotland. Others had done so to gain permission to come to America. Some had served in the British Army. No doubt the King’s promise of 200 acres of land taken from rebels, and twenty years of no property taxes, helped entice others. Many leaders were still estate holders in Scotland and/or reserve army officers.[7]
As quickly as they dare, given the grease, the officers step onto the stringers and cross to your side. “King George and Broadswords!” yell many of the men, the battle cry they had agreed upon, for what now is considered the last claymore charge in world history. Some jab the tips of their swords into the stringers to keep from slipping off.
Campbell and McLeod lead the charge up the road, not sure how many men they face—if any. Spotting the empty trench, perhaps they assume there aren’t many. You watch the Highlanders rush by you. As they get around the curve, they are only about 30 yards from the Patriots, well within the effective range of Whig muskets. Behind the earthwork, Caswell yells the order to open fire.
Claymores Fall to Firearms
You better get out of here! Continue up the trail and take a position with the Patriots behind the swivel cannon, facing the bridge.
The cannon and a wall of muskets fire with a deafening blast. The British and Tory officers fall dead, and the bridge is swept clean in an instant, with every man who was crossing hit. Some of the wounded drown in the water below. (The creek is normally around five feet deep, but can rise several feet with the tide.)
Many or most of the remaining Highlanders turn and run. The Patriots, perhaps as stunned as their foes are, leap over the earthworks to give chase. A few moments of hand-to-hand combat kills or captures the Highlanders remaining on this side, around the marker at the curve. In one case it is hand-to-teeth, as a Whig resorts to biting a Loyalist before the latter surrenders. Meanwhile, two friends race for McLeod’s body, and Abraham Newkirk wins his watch.[8] Later the body is found to contain nine bullets plus a couple dozen buckshot.[9] McLeod had been a newlywed.
Some of the Tories return fire from across the creek,[a] However, less than half an hour after their arrival, three minutes or less since the first gunshot, the battle is over. The Patriots slide over the bridge stringers or through the creek and up the road towards the Tory camp. Many of the Loyalists surrender immediately. The Whigs sweep up most of the rest, following them at least as far as their camp in today’s Atkinson.
One historian says the remaining Tory officers meet briefly at the camp before the Patriots arrive, and decide to distribute the ammunition and disband. However, many survivors stay together for mutual protection and move toward Smith’s Ferry (modern Smithfield), only to be caught at another creek along the way.[b] The Patriots from the battlefield are helped by more Whig militia coming from further west, trapping Tories as far west as modern Averasboro.
At the camp they capture MacDonald as well, supposedly asleep in his tent. The same historian says MacDonald offers his sword to Moore per the custom of the day, and has it returned by the same courtesy.[c]
Battle Map

The Battle of Moore’s Creek Bridge: 1) Bridge prepared, a Patriot sentry challenges Tory vanguard. 2) Tories charge across bridge, are decimated by Patriot cannons and gunfire. 3) Patriots countercharge. 4) Tories flee, Patriots follow and capture most.
A Legendary Ride
Near the visitor’s center, you will pass a monument to the women of the Revolution, above the graves of Ezekiel and Mary Slocumb. An 1848 book included a first-person account by Mary of her riding here overnight after the battle. Unfortunately, either the author made it up, or Mary recalled the wrong battle. Among many problems with the story, Ezekiel was not a militia soldier until 1780, also the year a son the story mentions was born.[d]
Casualties
- Tory Militia: 30–70 killed, at least 20 wounded and 850 captured.[e]
- Patriot Militia: 1 killed, 1 wounded.
After the Battle
The Patriots find a bounty of supplies. “This included 1,500 rifles, 350 shot bags, 150 swords and Scottish dirks, two chests of medical supplies and 13 wagons with horses,”[10] both from the force’s supplies and Loyalist homes the Patriots ransacked. Back in Cross Creek, an African-American pointed them to coins worth £15,000[11] buried under a stable floor—roughly $2.6 million in modern dollars.[12]
Years later the widow of a Surry County soldier who arrived too late for the battle said “after a few weeks spent in plundering the Tories dens or shops,” they returned home. Moravians in his county reported their local militia returned in “‘Scottish Clothes.’”[13]
The few surviving British/Tory officers, including MacDonald, were marched off to Halifax as prisoners. Tory Col. Samuel Bryan, from west of Winston-Salem, claimed later to be “the only British officer to escape.”[f] The rest of the recruits were paroled, meaning they were released upon swearing not to take up arms for the king again unless exchanged for Whig prisoners, among other terms. Almost all of the Loyalists were captured or killed.
Months later, The British decided they were better off attacking South Carolina directly, instead of trying to subdue North Carolina first without local help. They move toward Charleston. The Battle of Moore’s Creek largely ended Loyalist armed activity in N.C. for four years, and helped the rebel government feel safe to declare support for independence via the Halifax Resolves six weeks later.
Historical Tidbits
- John Grady is believed to be the one Patriot mortally wounded here. Grady was a Minuteman, a type of militia soldier trained to respond quickly to threats, from Duplin County in Caswell’s forces, unmarried, around 20, one source says.[g] He died several days later, on March 2. In 1857, remains were dug up from the spot where an enslaved man reported burying them as a child with his father after the battle, apparently in Wilmington. They are assumed to be Grady’s.[14] If so, sadly, he died from “friendly fire”: The body was shot in the back of the head.[15] Sources from that year suggest what was left was reburied in the Patriot’s Monument you passed after the earthworks, and the box was reinterred in it when the monument was moved in 1975.[h]
- A 2011 archaeological excavation here unearthed “two dozen lead musket and rifle balls, a British penny dated 1738, and a King George III and Queen Charlotte of Mecklenburg-Strelitz coronation button…”[16] Charlotte was from that kingdom in what now is Germany, which is why the city and Mecklenburg County have those names.
More Information
- Andrlik, Todd, Reporting the Revolutionary War: Before It Was History, It Was News (Naperville, Ill.: Sourcebooks, Inc., 2012)
- Barefoot, Daniel, ‘Moore’s Creek Bridge, Battle Of’, NCpedia, 2006 <https://www.ncpedia.org/moores-creek-bridge-battle> [accessed 18 March 2020]
- Caruthers, E. W., Revolutionary Incidents and Sketches of Character, Chiefly in the ‘Old North State’ (Philadelphia, Hayes & Zell, 1854) <http://archive.org/details/revolutionaryinc00caru> [accessed 17 April 2020]
- Dorsey, W. K., ‘John Grady, First American Patriot to Give Life’, The Pender Chronicle (Burgaw, N.C., 8 August 1973)
- Dunkerly, Robert M., Redcoats on the Cape Fear: The Revolutionary War in Southeastern North Carolina, Revised (Jefferson, N.C.: McFarland & Company, Inc., Publishers, 2012)
- Fonvielle, Chris, ‘Searching for Answers at Moores Creek Battlefield’, Wilmington Star News, 2012 <https://www.starnewsonline.com/article/20120107/News/605026859> [accessed 19 March 2020]
- Fonvielle, Chris, ‘The 1776 Battle of Moores Creek Bridge’, Salt Magazine <http://www.saltmagazinenc.com/the-1776-battle-of-moores-creek-bridge/> [accessed 19 March 2020]
- Harris, C. Leon, ‘Pension Application of Elisha Baker, R411’, Southern Campaigns Revolutionary War Pension Applications & Rosters, 1834 <http://revwarapps.org/r411.pdf> [accessed 27 May 2022]
- Hatch, Charles, The Battle of Moore’s Creek Bridge (Office of History and Historic Architecture, U.S. National Park Service, 1969)
- Jones, Randell, Before They Were Heroes at King’s Mountain, North Carolina/Tennessee Edition (Winston-Salem, NC: Daniel Boone Footsteps, 2011)
- Lewis, J. D., ‘The Battle of Moore’s Creek’, North Carolina Early Statehood, 2012 <https://www.carolana.com/NC/Revolution/revolution_battle_of_moores_creek.html> [accessed 18 March 2020]
- McEachern, Leora, and Ruth Walker, ‘Pensioners Remember the War’, Lower Cape Fear Historical Society Inc. Bulletin, January 1981 <https://www.lcfhs.org/uploads/1/1/9/8/119823026/bulletin_jan_1981.pdf> [accessed 30 January 2020]
- ‘Moores Creek National Battlefield’, S. National Park Service <https://www.nps.gov/mocr/index.htm> [accessed 18 March 2020]
- Moore, James, ‘Letter from James Moore to Cornelius Harnett [Extract], Volume 11, Pages 283-285’, 1776 <https://docsouth.unc.edu/csr/index.php/document/csr11-0146> [accessed 10 August 2022]
- Rankin, Hugh F., ‘The Moore’s Creek Bridge Campaign, 1776’, The North Carolina Historical Review, 30.1 (1953), 23–60
-
Rankin, Hugh F., The North Carolina Continentals (Chapel Hill: The University of North Carolina Press, 1971)
- Reinterment’, The News and Observer (Raleigh, N.C., 25 February 1975)
- ‘Resource Description’, Moores Creek NMP: Master Plan <http://npshistory.com/publications/mocr/master_plan/sec3.htm> [accessed 19 March 2020]
- Staff, Moore’s Creek National Battlefield, In-person interview, 10/6/2020.

[1] Mother Covington: Caruthers 1854 and Harris 1838; other cannons, Staff 2020; New Bern: Watson, Alan, A History of New Bern and Craven County (Tryon Palace Commission, 1987).
[2] Jones.
[3] Dunkerly 2012.
[4] Jones.
[5] Dunkerly.
[6] Kilts: Staff, and AmRevNC review of pension applications; oath: Fowler, Malcolm, They Passed This Way: A Personal Narrative of Harnett County History (Harnett County Centennial, Inc., 1955) <https://digital.lib.ecu.edu/17023> [accessed 3 August 2022].
[7] Ganyard, Robert L., The Emergence of North Carolina’s Revolutionary State Government, North Carolina in the American Revolution (Raleigh, N.C.: North Carolina Dept. of Cultural Resources, Division of Archives and History, 1978).
[8] Dunkerly.
[9] Barefoot 2006.
[10] Jones.
[11] Amount, ibid.; African-American, Rankin 1971.
[12] Nye, Eric, ‘Currency Converter, Pounds Sterling to Dollars, 1264 to Present’ <https://www.uwyo.edu/numimage/currency.htm>, 10/19/2020.
[13] Widow: Graves, Will (trans.), ‘Pension Application of John Martin, W4722 (Nancy Martin)’, Southern Campaigns American Revolution Pension Statements & Rosters, 1840 <https://revwarapps.org/w4722.pdf>. Moravians quoted in: Waugh, Betsy Linney, The Upper Yadkin Valley in the American Revolution: Benjamin Cleveland, Symbol of Continuity, Dissertation, University of New Mexico (Wilkesboro, N.C.: Wilkes Community College, 1971).
[14] Staff.
[15] Dunkerly.
[16] Fonvielle 2012.
[a] Rankin 1971.
[b] Ibid.
[c] Ibid.
[d] Dunkerly, Robert, Women of the Revolution: Bravery and Sacrifice on the Southern Battlefields (Charleston, S.C.: The History Press, 2007) <https://www.hoopladigital.com/title/12305023> [accessed 1 April 2022]; Fonvielle, Jr., Chris E., ‘The Midnight Ride of Polly Slocumb and the 1776 Battle of Moore’s Creek Bridge’, in More Curious Tales from Old Wilmington and the Lower Cape Fear: The Truth Behind the Legends (SlapDash Publishing, LLC, 2023); ‘Mary Slocumb at Moores Creek Bridge: The Birth of a Legend’, NCpedia <https://www.ncpedia.org/anchor/mary-slocumb-moores-creek> [accessed 27 May 2022]; Yancey, Noel, ‘Moore’s Creek Folklore’, Spectator, 22 January 1987 (Pender Co. Public Library Vertical Files).
[e] Rankin (1971) says Caswell estimated 30, but Moore later raised that to 70. It is likely many sunk into the swamps, making an exact count impossible. He indicates 850 were paroled, in which case the capture count does not include officers taken to Halifax per “After the Battle.”
[f] Hughes, Fred, ‘Davie County (The Forks of the Yadkin), North Carolina, Historical Documentation’ (Custom House, 1977).
[g] Dorsey 1973.
[h] Dorsey; Reinterment 1975.